
Attic Mold From Poor Ventilation: Signs, Causes, And Fixes

If your attic smells musty or the roof sheathing looks “dirty,” poor airflow may be part of the story. Attic mold ventilation problems often show up after months of trapped moisture, not overnight.
The good news is you can usually stop it. The better news is you can stop it for good, as long as you fix the moisture source first. Venting an attic that’s still getting wet air from below is like opening a window in a steamy bathroom, it helps, but it doesn’t solve the real problem.
Signs of attic mold linked to poor ventilation
Mold in an attic doesn’t always look like the classic “black spots.” It often starts as small speckles or a dusty film on wood, especially on the north-facing roof deck or shaded areas that stay cooler.
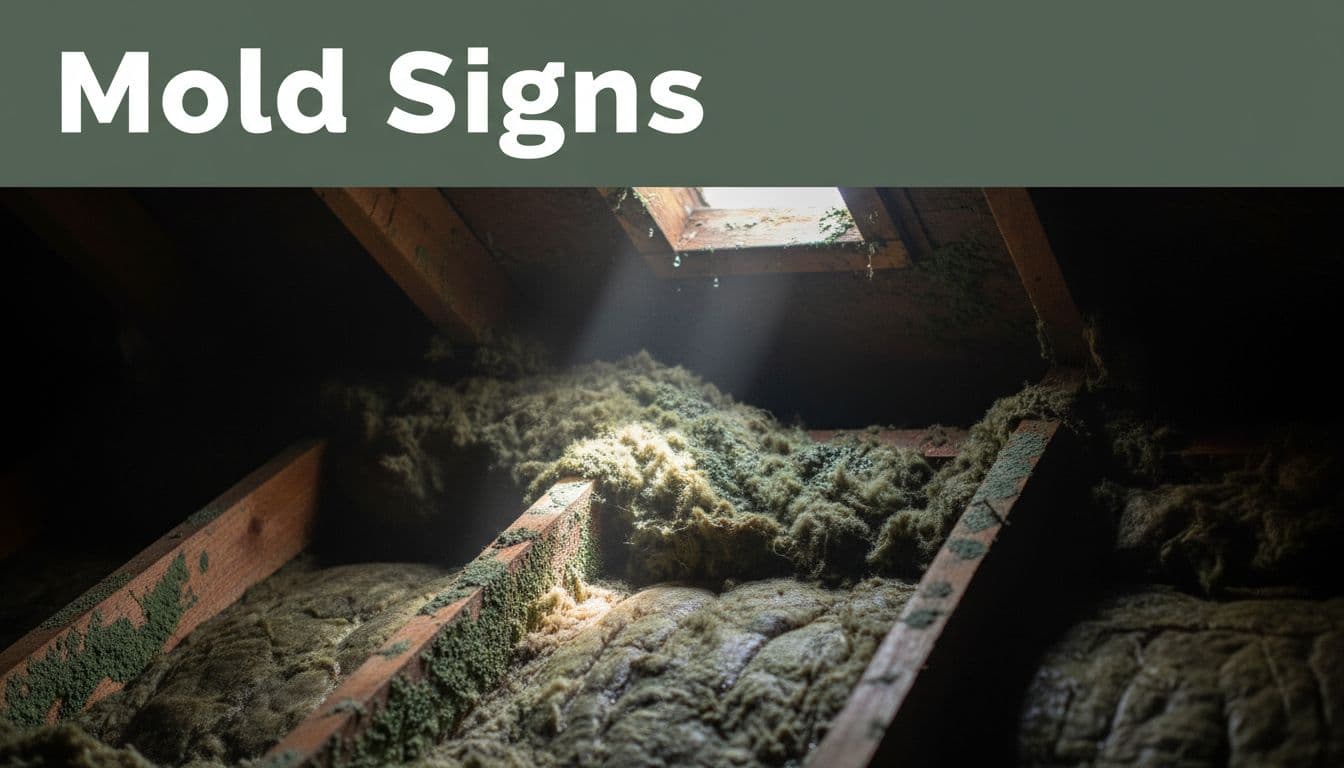
Poor ventilation usually leaves a pattern: moisture collects on the coldest surfaces, then mold follows. Keep an eye out for these common clues:
- Fuzzy or blotchy growth on rafters or roof sheathing, especially near the ridge line
- Condensation marks (water staining, darkened wood grain, “tide lines”)
- Rusty nail tips poking through the roof deck, a quiet sign of repeated condensation
- A musty odor that hits you when you open the attic hatch
- Wet or matted insulation, or insulation that looks compressed near the eaves
- Frost in winter climates, or water droplets on nails during cold snaps
Sometimes homeowners mistake soot or old staining for mold. A quick clue is placement: ventilation-related growth often repeats across wide areas of sheathing, not just around one pipe or one roof penetration.
If you’re unsure, focus on the “why,” not only the “what.” Mold needs moisture. The US EPA explains the basics of where mold grows and why moisture drives it in its mold training guidance. Use that mindset as you look around: where is the water coming from, and why can’t it dry?
Causes: how attic ventilation problems start (and why vents alone don’t fix it)
Attics are supposed to be outside-like spaces. When warm, damp air from your home leaks into a cooler attic, it can condense on wood like a cold glass sweating on a humid day. Over time, that moisture load overwhelms the attic’s ability to dry.
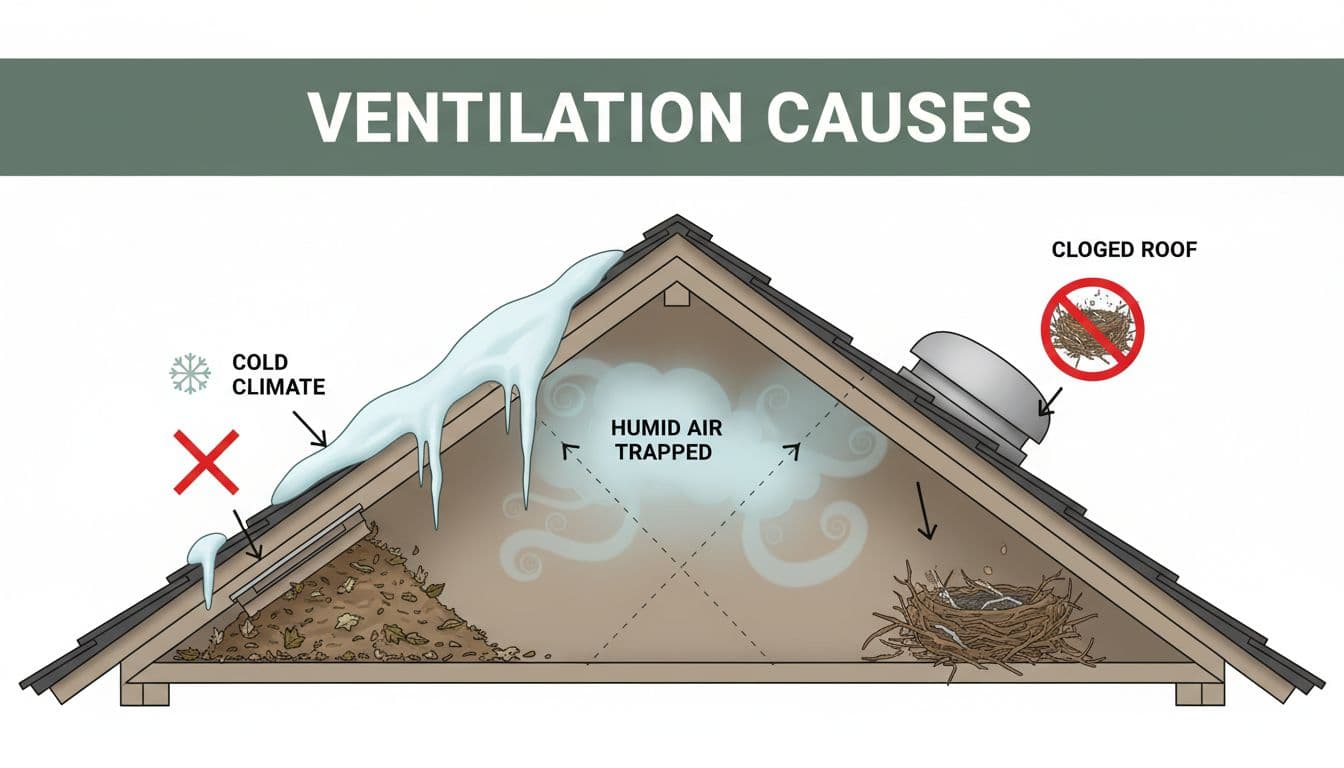
Poor attic ventilation usually comes from a mix of design issues and moisture sources, such as:
- Blocked intake vents at the soffits (insulation stuffed into eaves, old baffles missing, paint or debris clogging vents)
- Too much exhaust and not enough intake, which can pull air from the house instead of from outside
- Bathroom fans or dryer vents dumping into the attic, adding moisture fast
- Leaky ductwork (common where air handlers are in the attic), which can spill cold air and create condensation
- Roof leaks and flashing failures, which mimic ventilation issues but won’t improve with more airflow
Ventilation can help an attic dry, but it can’t “out-vent” a steady moisture source. Air-sealing and source control come first.
Climate changes the details. In cold climates, moisture often shows up as frost on the roof deck, then melts and wets insulation. For building-science guidance on this pattern, see the Building America Solution Center page on cold-weather attic condensation control. In hot-humid areas like Southwest Florida, outdoor humidity and wind-driven rain raise the baseline moisture level, so small air leaks can cause big problems.
For a broader durability view, the US Department of Energy summarizes moisture and ventilation priorities in its Durable Attics fact sheet.
Fixes that last: source control, air-sealing, then ventilation upgrades
Start with a simple rule: fix wet first, then improve drying. That order saves money and prevents repeat growth. It also keeps you from installing bigger vents while humid air still pours in from the ceiling below.
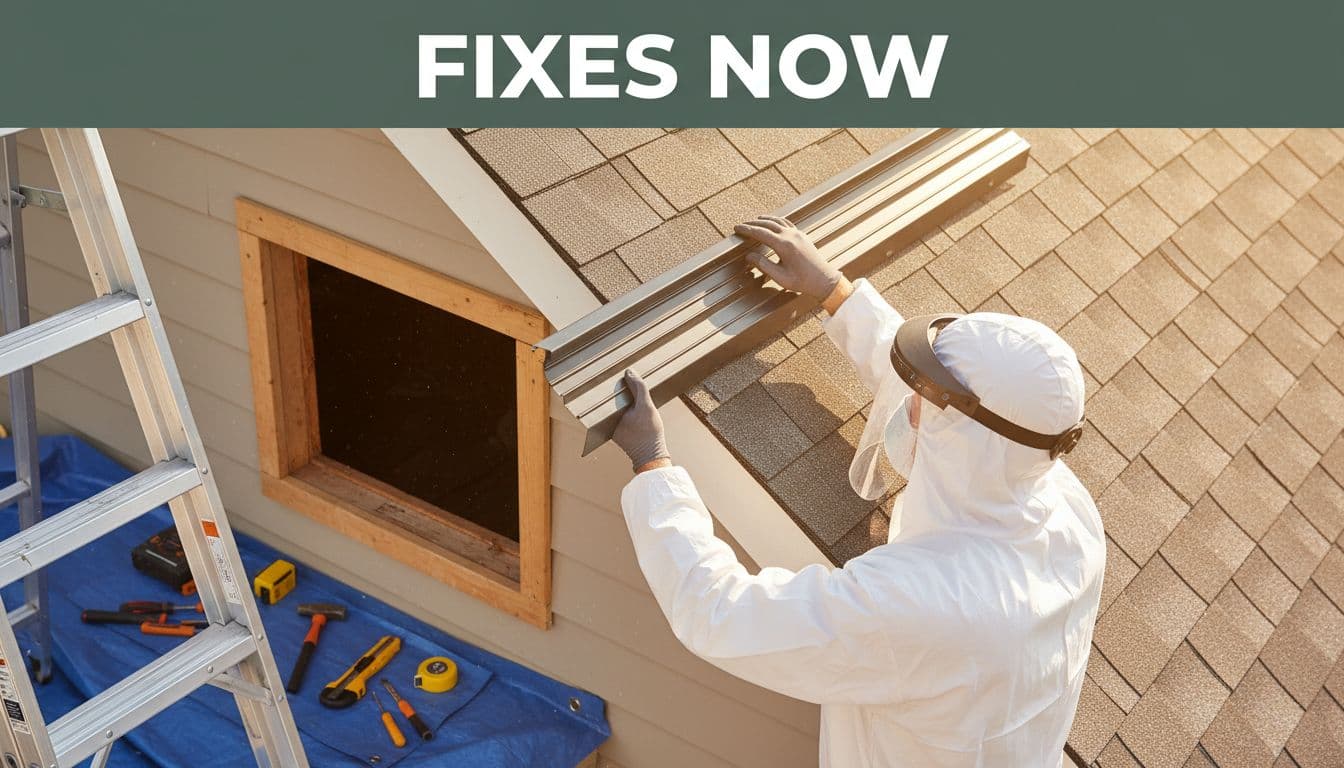
Safety rules before you touch anything
Attics hide hazards. Watch for exposed nails, low-clearance framing, and electrical wiring. Also treat any suspected mold like it’s easy to spread, because it is.
Wear gloves, goggles, and a well-fitting N95 or P100 respirator (better for dusty attics). Don’t dry-sweep or brush growth, and don’t run a shop vac unless it has a true HEPA setup. If insulation is wet, step back. Wet insulation can hide ceiling drywall damage and creates slip and fall risks on joists.
Health note: mold exposure can irritate some people. This isn’t medical advice, so talk with a clinician if you have symptoms or asthma concerns.
For moisture prevention strategies that apply to the whole home, the EPA’s overview of ways to control moisture is a solid starting point.
A practical fix order (with costs)
Use this sequence to solve attic mold tied to ventilation and moisture:
- Stop bulk water: repair roof leaks, flashing, or plumbing vent boot failures.
- Stop indoor air leaks into the attic: seal attic floor penetrations (top plates, can lights rated for contact, bath fan housings, chases).
- Fix duct and fan issues: vent bath fans outdoors, seal duct leaks, insulate cold ducts in humid climates.
- Restore ventilation pathways: clear soffits, add baffles, confirm balanced intake and exhaust.
- Clean or remediate: only after moisture is controlled, otherwise it returns.
Typical cost ranges vary by access and severity, but this table helps with planning:
| Fix type | What it addresses | Typical cost range |
|---|---|---|
| Air-sealing attic floor | Warm, moist air leaking upward | $200 to $1,500 |
| Bath fan ducted outdoors | Direct moisture dumping into attic | $250 to $900 |
| Soffit vent clearing + baffles | Restores intake airflow | $300 to $1,200 |
| Ridge/roof vent work | Improves exhaust drying | $400 to $2,500 |
| Duct sealing/insulation | Condensation and humidity control | $300 to $2,000 |
| Professional mold remediation | Safe containment and cleaning | $1,500 to $6,000+ |
The takeaway: the cheapest “vent-only” fix often fails if air leaks and moisture sources stay.
DIY vs pro: a quick decision guide
DIY makes sense when the affected area is small, wood is solid, and you can correct the moisture source quickly (like reconnecting a loose bath fan duct). On the other hand, call a qualified mold professional when any of these are true:
- Mold covers a large area, keeps spreading, or returns after drying.
- You see sagging roof decking, soft wood, or soaked insulation.
- Ductwork, electrical wiring, or HVAC equipment sits in the affected zone.
- You need containment to avoid spreading spores into living spaces.
In Cape Coral and other hot-humid areas, timing matters. Do air-sealing during mild weather when possible, because sealing on a high-humidity day can trap moist indoor air if the home’s humidity control isn’t working. After storms, check the attic early. Fast drying prevents the worst growth.
Conclusion
Attic mold tied to ventilation is really a moisture story, trapped air is just part of it. Track the source, tighten the ceiling plane, and then tune airflow so the attic can dry. When the job feels risky or the damage looks widespread, bring in a pro so you don’t spread contamination or miss hidden rot. Fix the root cause now, and attic mold ventilation problems usually stop coming back.