
Water Damage Drying Time by Material in Florida Homes
A pipe leak in Cape Coral can look “not that bad” at first. Then the air turns sticky, the baseboards swell, and the floor starts to cup. Florida humidity has a way of taking a small water loss and stretching it out.
Here’s the bottom line: water damage drying time depends on the material, how wet it got (including underneath), and your indoor relative humidity (RH). In many Florida homes, drying takes longer than people expect because outdoor air often carries moisture in, not out.
This guide gives realistic time ranges by material, plus practical steps to dry faster and avoid mold.
How long will it take in Florida? A quick, realistic snapshot
In a controlled dry-out (A/C running, dehumidifier running, strong airflow), many “clean water” losses land in these rough ranges:
- Carpet and pad: 1 to 3 days if extracted well, longer if the pad stays soaked.
- Drywall: 3 to 7 days for the wall cavity area, sometimes longer at the bottom 12 inches.
- Wood framing and subfloors: 5 to 14 days because wood holds moisture deep inside.
- Concrete slab: 7 to 21 days (or more) because moisture migrates slowly through concrete.
Florida’s high RH is the wild card. If indoor RH sits above 60%, evaporation slows down a lot. It’s like trying to dry a towel in a steamy bathroom.
If you can’t get wet materials drying quickly (often within 24 to 48 hours), mold risk rises fast. The CDC’s mold cleanup guide after disasters explains why drying and removal of water-damaged items matters first.
Disclaimer: These are ranges, not promises. Drying depends on temperature, airflow, water type, and how long materials stayed wet. Always verify dryness with moisture readings before rebuilding, especially before closing walls, ceilings, or floors.
Water damage drying time by material (Florida ranges you can plan around)
Drying time is really “how long until moisture returns to a safe level.” That’s why pros compare readings to dry, unaffected areas and document progress.
Below is a homeowner-friendly planning table. Use it to set expectations and avoid closing things up too soon. For cleanup priorities by material, the EPA water-damage cleanup table (PDF) is a solid reference.
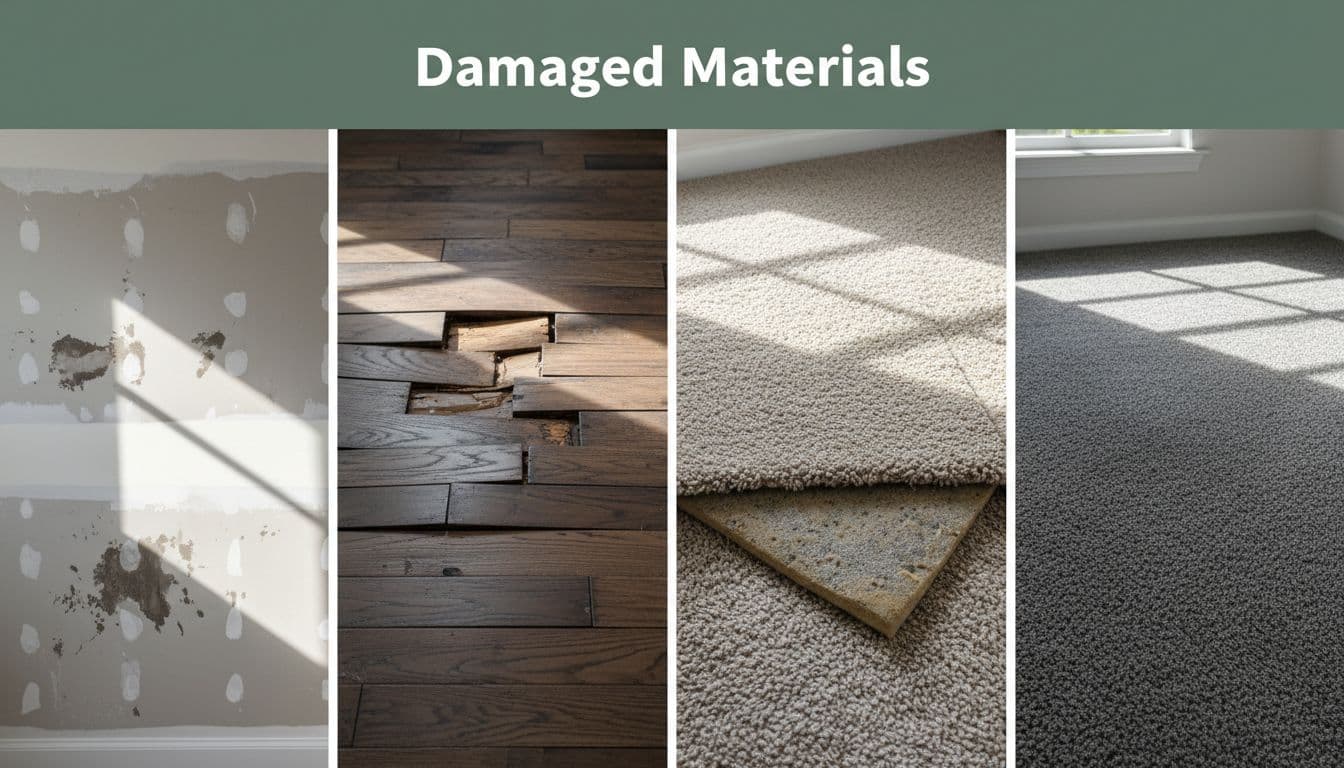
| Material in Florida homes | Typical drying time range | Dry or replace (common outcomes) |
|---|---|---|
| Drywall (painted) | 3 to 7 days | Often dryable if clean water and limited wetting; replace if swollen, crumbly, or moldy |
| Drywall (bottom edge/wicking) | 5 to 10 days | Bottom 6 to 24 inches often needs removal for airflow and inspection |
| Wood studs and plates | 5 to 14 days | Usually dryable, but needs airflow and dehumidification on both sides when possible |
| OSB/plywood subfloor | 7 to 21 days | Can dry, but watch for swelling and soft spots; may require removal if delaminated |
| Hardwood flooring | 7 to 21 days | Can sometimes be saved; cupping and buckling often mean longer drying and repairs |
| Laminate flooring | 2 to 7 days | Frequently replace because edges swell and the core breaks down |
| Carpet (surface) | 1 to 3 days | Dryable if clean water and quick extraction; pad is the usual problem |
| Carpet pad | 2 to 5 days | Often replace if saturated or if water was not clean |
| Baseboards and trim | 3 to 10 days | MDF trim often replaces; solid wood may dry if removed and dried separately |
| Kitchen/bath cabinets (particleboard) | 7 to 21 days | Particleboard commonly swells and fails; solid wood boxes can sometimes recover |
| Tile and grout (over slab) | 2 to 7 days | Surface dries fast, but moisture can stay under tile if water got beneath it |
| Concrete block or slab | 7 to 21+ days | Dryable, but slow; moisture may keep feeding back into finishes |
One common Florida surprise: the visible surface dries first, while hidden cavities stay wet. If the base of a wall wicked water, the cavity can act like a wet sponge behind paint.
A homeowner checklist to dry faster (without making things worse)
When drying goes well, it’s because you control three things: temperature, humidity, and airflow. Think of it like drying laundry, you don’t just “wait,” you create the right conditions.

Use this checklist as a starting point:
- Start with extraction: Pull out as much liquid water as possible first. Drying equipment can’t “beat” standing water.
- Set the A/C for drying: Aim for about 72 to 75°F. Keep windows closed if outdoor air is humid (most Florida days).
- Run the right dehumidifier: For bigger losses, an LGR dehumidifier is often the right tool. Small home units can’t keep up with soaked drywall and framing.
- Place dehumidifiers for circulation: Put the unit where air can move freely, not jammed in a corner. Run a drain hose to a safe drain or condensate pump.
- Use air movers with purpose: Angle airflow across wet surfaces (walls, floors), not straight at one spot. Create a “racetrack” of moving air around the room.
- Consider containment: Close doors and, if needed, hang plastic to isolate the wet zone. This helps the dehumidifier dry a smaller air volume.
- Open up what’s trapping moisture: Remove wet baseboards, toe-kicks, and sometimes a “flood cut” section of drywall if water wicked up.
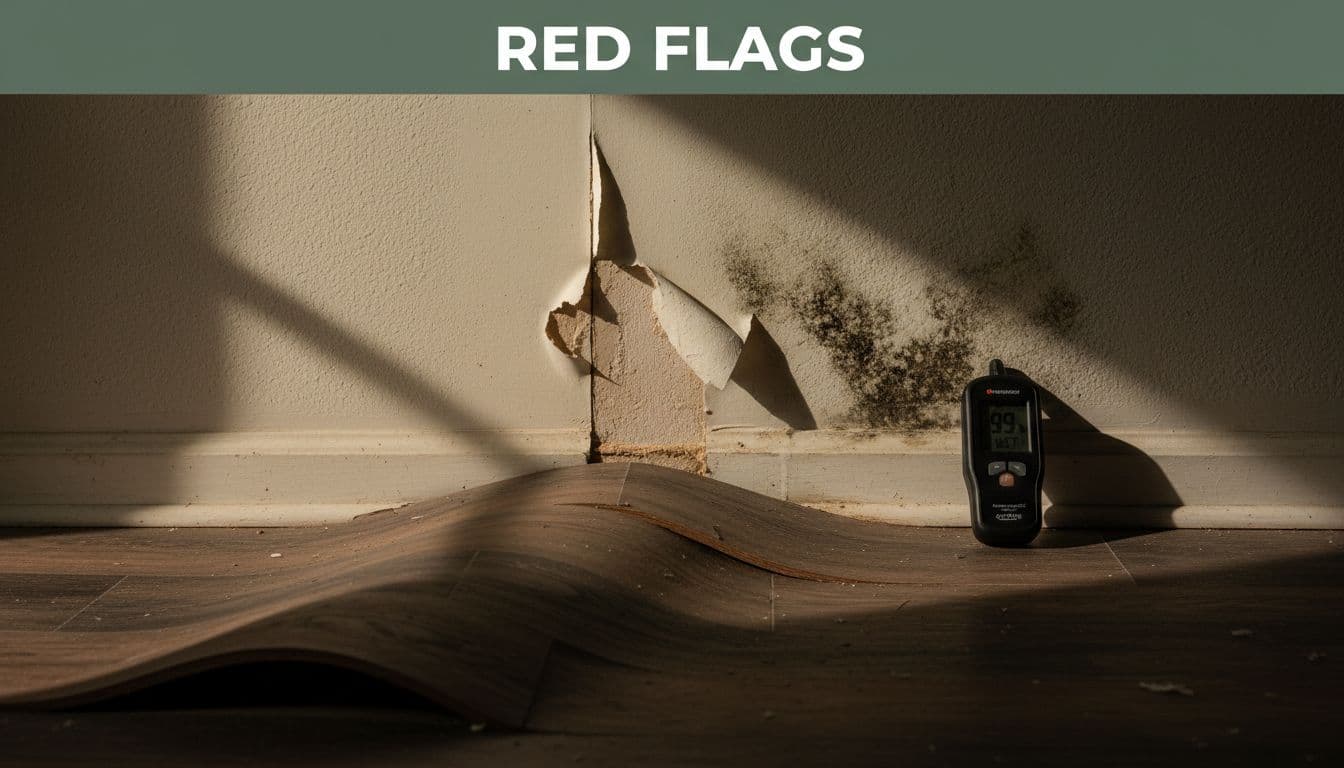
- Measure, don’t guess: A basic hygrometer plus moisture checks (pin or pinless meter) prevents premature repairs.
For a clear view of how pros structure a dry-out, see these IICRC S500 drying steps. The big idea is consistent: control conditions, monitor daily, and prove dryness before rebuild.
Red flags that need a restoration pro (and how to prevent mold in humid weather)
When “DIY drying” stops being safe or smart
Call a restoration pro (or at least get an inspection) if you notice:
- Swelling or delamination in drywall, cabinets, or subfloors, since the structure may be failing.
- Hidden cavity moisture signs, like wet baseboards, bubbling paint, soft drywall, or musty odor that returns after you dry the room.
- Sewage or black water exposure (toilets backing up, floodwater, seawater mix). This needs specialty cleaning and safe disposal.
- Electrical hazards, including wet outlets, wet breaker panels, ceiling sag near lights, or tripping breakers.
- Rapid mold growth or large areas of visible growth.
Health and safety matter, especially after flooding. The CDC mold cleanup recommendations outline who should avoid cleanup and what protective steps to take.
Mold prevention targets for Florida homes
During drying, aim to keep indoor RH between 45% and 55% (and under 60% at minimum). Check RH morning and evening for the first few days, then daily until stable.
Moisture can linger behind finishes, so don’t close walls or reinstall flooring just because the surface feels dry. Confirm moisture levels are back near “dry” areas of the home, then rebuild.
In Florida, mold prevention is less about bleach and more about humidity control and verified dryness.
Conclusion
Water damage doesn’t follow a single clock, especially in Florida’s humid air. Once you know the likely water damage drying time for each material, you can plan smarter and avoid rushed repairs. Start extraction fast, control indoor RH, and verify dryness before you close anything up. If you see red flags like swelling, sewage, or hidden moisture, bring in a pro before the damage spreads.