
Burst Pipe In The Wall: First-Hour Steps For Homeowners
A burst pipe inside a wall can feel like a hidden faucet you can’t reach. Water keeps moving, drywall drinks it up, and damage spreads fast. In a burst pipe emergency, the first hour is about control, not perfection.
Your goals are simple: stop the water, protect people and electrical, contain the mess, document what happened, and start drying so mold doesn’t get a head start. Then you line up the pros to do the repair and proper restoration.
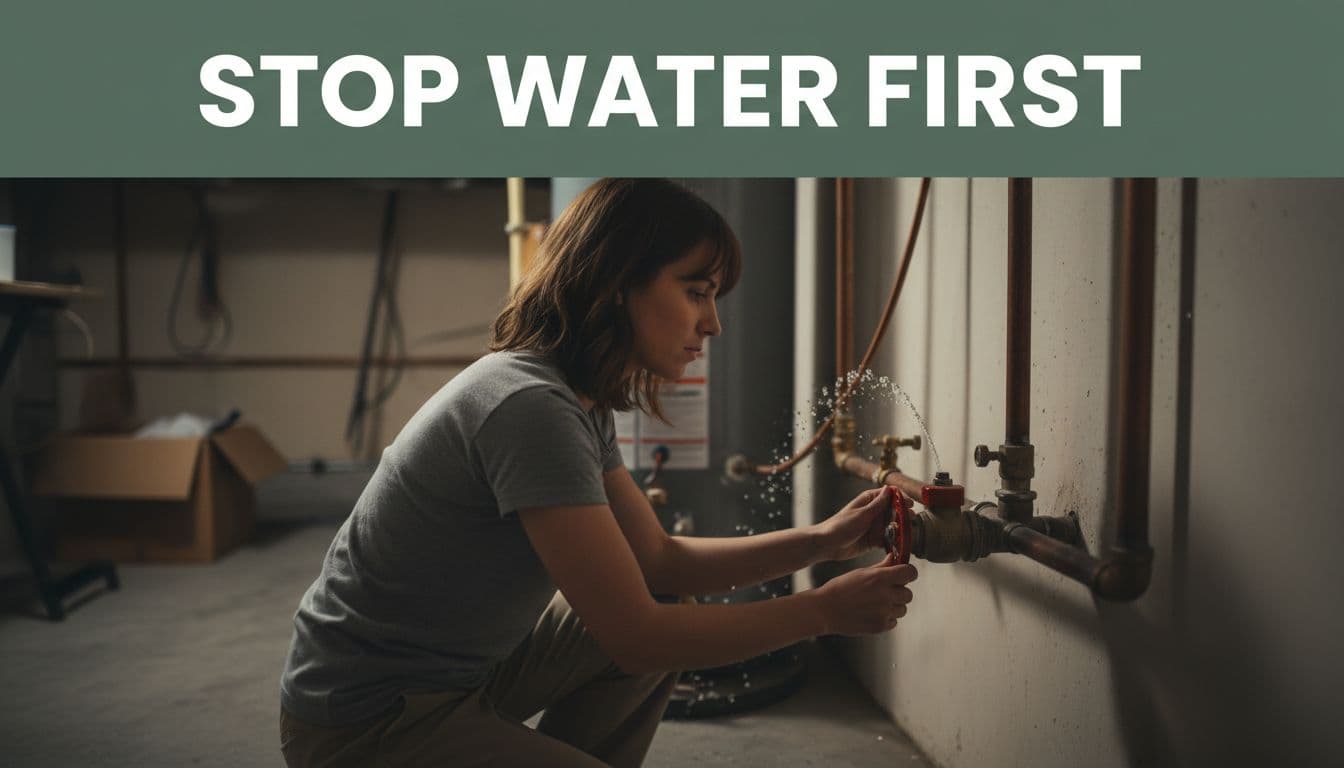
The first 10 minutes: stop the water and protect people
Act like you’re stopping a small fire. Speed matters, but safety comes first.
- Confirm it’s active water.
Listen for hissing or rushing in the wall. Look for water at baseboards, a bubbling paint spot, or a fast-growing puddle. - Shut off water at the nearest safe valve.
If you can reach a fixture shutoff (under a sink or behind a toilet) and you’re confident that’s the line, close it clockwise. If you’re not sure, go straight to the main shutoff. - Turn off the home’s main water shutoff.
Common spots include the garage, a utility closet, near the water heater, or where the main line enters the house. If you can’t find it, check by the meter outside. Once the valve is off, open a faucet to confirm flow stops. For additional perspective on immediate actions, see Angi’s pipe burst checklist.
4. Cut power to the affected area (only if it’s safe).
If water is near outlets, lights, appliances, or ceiling fixtures, go to the electrical panel and switch off the breaker for the wet room(s). Keep one hand free and stand on a dry surface.
If the panel area is wet, if you’re standing in water, or if you’re unsure which breaker is right, don’t touch anything. Move away and call an electrician.
5. Relieve pressure and reduce further leaking.
After the water is off, open the lowest faucet in the home (often a tub spout) and also open a higher faucet. This helps drain lines and slows residual dripping.
If water is near electrical and you can’t shut power off safely, step back. A flooded room isn’t worth a shock.
Minutes 10 to 60: contain water, document for insurance, and start drying
Now you’re trying to keep clean water from turning into a whole-house problem.
- Move people, pets, and valuables out of the path.
Start with electronics, rugs, paper items, and anything stored on the floor. If furniture is too heavy, slide foil or wood blocks under legs to lift it above wet flooring. - Contain the water at the source and on the floor.
Put buckets under drips, then build “towel dams” along doorways. Use a wet-dry vacuum on hard floors and carpet edges if you have one. Work from the outer edge of the puddle inward. - Look for the leak’s footprint, not the exact pinhole.
With a pipe in the wall, water often runs down studs and shows up several feet away. Check both sides of the wall and the room below. A damp, warm spot can hint at a hot-water line. If you need help spotting common warning signs, review signs a pipe burst in the wall. - Only try a temporary patch if the pipe is exposed and everything is dry and safe.
If you can clearly see the damaged pipe (for example, under a sink or in an open utility area), and the water is already off, you may use a pipe clamp or repair tape as a short-term measure.
Don’t cut into drywall or dig into a wet wall when you’re stressed. Leave hidden pipe repairs to a licensed plumber. - Document everything for insurance while the scene is fresh.
Take wide shots of the room, then close-ups of wet drywall, flooring, and any damaged items. Record a short video with narration (date, time, what you heard, where water appeared). Save receipts for fans, a dehumidifier rental, or supplies. - Notify the right parties early (it prevents delays).
Use this as a quick guide:
| Situation | Who to contact | When |
|---|---|---|
| You own the home | Insurance claims line | After water is stopped and safe |
| You rent | Landlord or property manager | Immediately after shutting water off |
| Condo or HOA building | HOA or building manager | Immediately, shared walls can be affected |
A fast call helps coordinate access, responsibility, and next steps.
7. Grab a few supplies to keep momentum.
You don’t need a warehouse. You need the basics within arm’s reach.
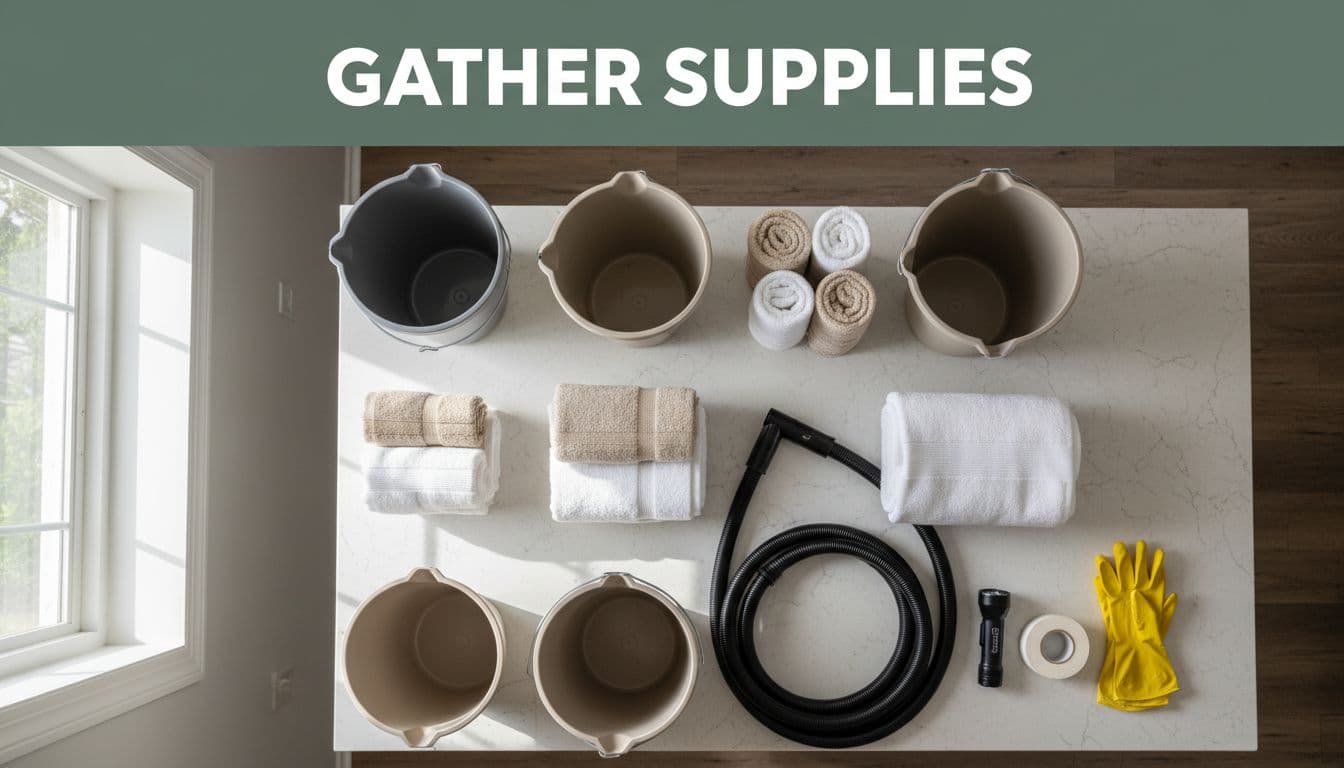
Small supplies checklist:
- Buckets, towels, and trash bags
- Flashlight or headlamp
- Wet-dry vacuum (if available)
- Nitrile or rubber gloves
- Painter’s tape (to mark wet areas), plus a marker
- Basic repair items for exposed pipe only (clamp or repair tape)
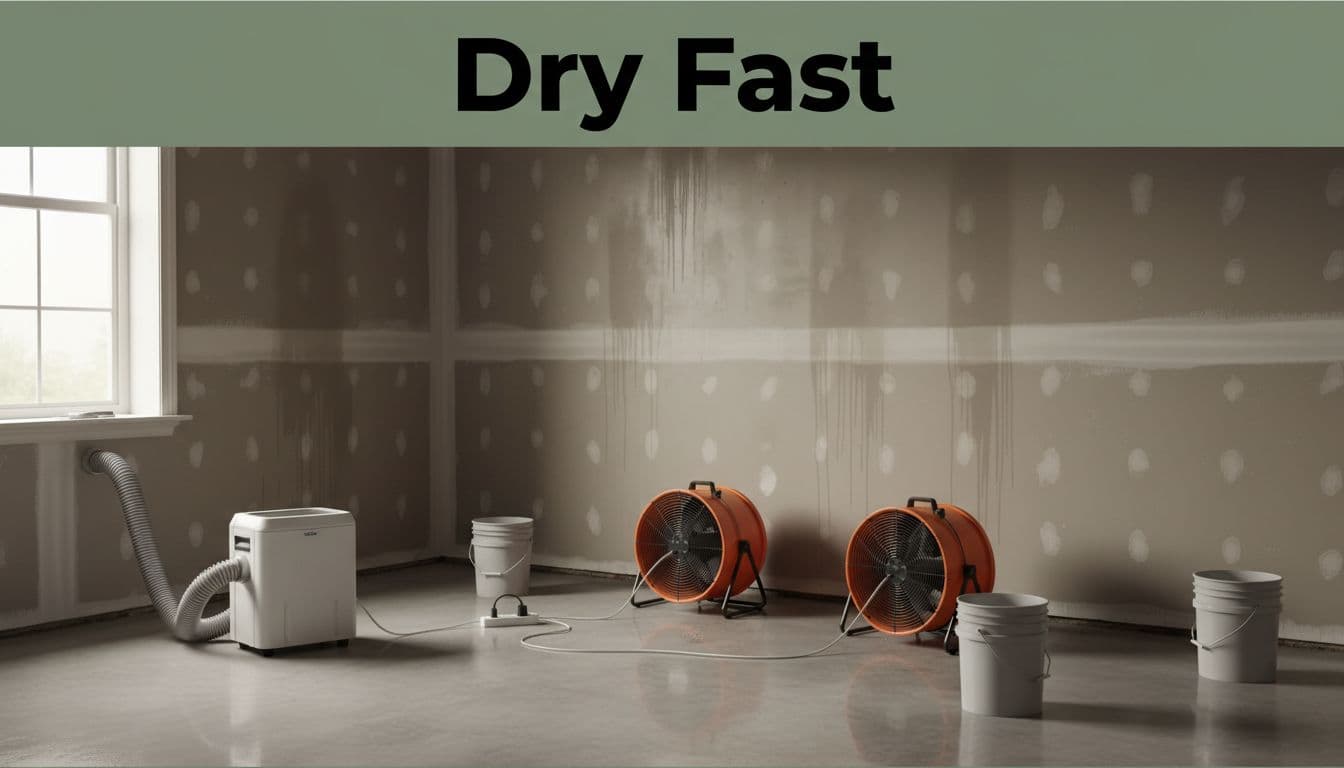
After the first hour (next 24 to 48 hours): dry fast, prevent mold, and line up repairs
Once the water stops, the next threat is moisture trapped in materials. In Florida humidity, drying can feel like trying to dry a sponge in a steamy bathroom, you need airflow and moisture removal.
- Start drying right away.
Run fans to move air across wet surfaces (aim along walls, not straight into a soggy spot). Add a dehumidifier and keep doors and windows mostly closed so you’re not pulling in humid outdoor air. If your AC runs well, it can help lower indoor humidity. - Watch humidity and damp areas.
A cheap hygrometer helps. Many homes dry better when indoor relative humidity stays around 40 to 50%. Mark the edges of wet drywall with painter’s tape, then check if the wet area grows. - Remove what can’t dry quickly.
Pull up small rugs and take them outside to dry. If a closet is wet, take items out so air can circulate. Don’t shove wet belongings into another closed room. - Don’t ignore that “wet wall” smell.
Mold can begin growing within a day or two when materials stay damp. For timing and why speed matters, see how fast mold can start after water damage. Practical prevention tips also help, like steps to prevent mold after water damage.
5. Line up the pros (plumber first, then restoration).
A plumber repairs the failed pipe and checks nearby lines. Then a restoration team handles drying, moisture checks, and repairs like drywall and flooring. If you’re in Cape Coral, Services 321 can coordinate water damage repair and mold-focused cleanup, and work with most insurance carriers.
If the wet area keeps expanding after the water is off, treat it as an active leak until a pro confirms otherwise.
When you talk with insurance, keep it simple: what happened, when you found it, what you did to stop water, and what areas were affected. If you have a condo or shared wall, keep the HOA in the loop so neighbors can inspect quickly.
A burst pipe in the wall is stressful, but it’s manageable when you follow the order: stop water, stay safe around electrical, contain and document, then dry fast. After that, the right plumber and restoration crew can turn a messy hour into a clean recovery plan.