
Shower Pan Leak Signs in Cape Coral Bathrooms What to Watch For Before Damage Spreads

A shower can leak for weeks and still look “fine” at first. In Cape Coral, that’s a problem, because warm air and steady humidity help moisture linger and spread. If you spot shower pan leak signs early, you can often avoid mold, rotted trim, and a much bigger repair.
This guide covers the most common red flags homeowners and condo owners see, where the water tends to travel, and what next steps make sense in real homes, not textbook diagrams.
Why shower pan leaks get missed in Cape Coral homes
A shower pan sits under the tile (or under the shower base) and directs water to the drain. When that waterproof layer fails, the water usually doesn’t gush out like a burst pipe. It seeps. Think of it like a slow spill under a rug. The top can look dry while the underside stays wet.
Cape Coral homes add a few twists:
Many properties sit on a concrete slab, so moisture can move sideways and show up outside the bathroom. In condos and two-story homes, leaks can stain ceilings or walls on the level below. Also, bathrooms here often fight humidity year-round, which means small leaks can feed mildew and musty smells fast.
One more reason leaks get overlooked: people blame grout. Grout can crack and discolor, but grout isn’t the waterproofing. It’s more like the “wear surface.” When the pan or the waterproofing behind the tile is compromised, you’ll keep seeing the same problems return.
For broader background on how moisture migrates through building materials, Florida’s building education resources on moisture prevention guidance help explain why hidden dampness can keep coming back.
The shower pan leak signs Cape Coral owners should take seriously
Most shower pan leaks leave clues. The key is noticing patterns, not just one odd day.
Here are the warning signs that show up again and again in Cape Coral bathrooms:
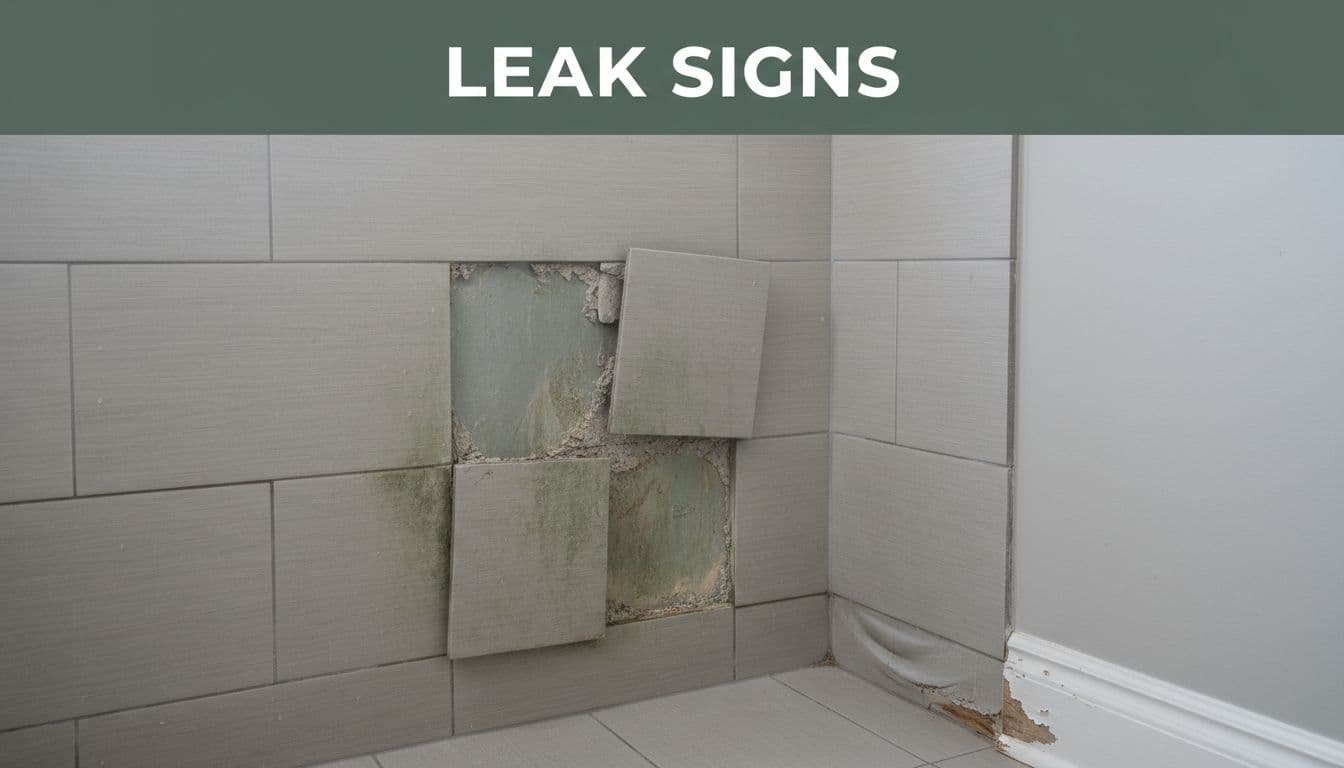
- Musty or sour smells: Odors that return soon after cleaning, especially near the curb or outside edge of the shower.
- Stains outside the shower: Darkened grout lines at the shower entry, or discoloration on adjacent flooring.
- Loose, hollow, or “clicking” tiles: Tile that shifts underfoot can mean the setting bed is staying wet.
- Swollen baseboards or soft trim: Baseboard edges that puff up, peel, or feel spongy near the shower wall.
- Damp in an adjacent room or closet: A shared wall can wick water into a bedroom closet or hallway.
- Recurring mildew on the same wall: Mildew that reappears despite ventilation and cleaning.
- Cracked grout at changes of plane: Cracks where the floor meets the wall, or where two walls meet, often point to movement and moisture.
- Water outside the shower after use: Puddles at the curb, or dampness that appears even with a normal shower routine.
If you clean, recaulk, and the same stains come back, treat it like a leak until proven otherwise.
Some signs overlap with plumbing leaks, too. If you’re unsure whether the water is from the shower pan or from supply lines, a quick read on “quiet” leaks can help you frame the problem, like these early leak-spotting symptoms common in Cape Coral homes.
Simple checks you can do before anything gets torn out
You don’t need to demo the bathroom to collect useful clues. A few low-risk checks can guide your next call.
Start with timing. Does the dampness show up only after showers, or even when nobody uses the bathroom? Shower-only moisture points toward the pan, drain connection, or waterproofing at the curb and corners.
Next, look at where the water appears. Pan leaks often show up at the shower perimeter, doorway, or on the other side of a shared wall. Supply line leaks can show up anywhere and may affect pressure or cause continuous dampness.
Also, pay attention to “movement” signs. A shower floor that feels slightly soft, or a curb that seems to loosen, can mean the materials under tile are staying wet. That’s a bigger clue than a little surface mildew.
If a professional comes out, they may recommend a shower pan test (often called a flood test) to confirm whether the pan holds water. In many cases, it’s the cleanest way to stop guessing. Here’s a plain-English explanation of what a shower pan test is and why it matters.
Avoid DIY “seal-it-and-forget-it” fixes as your main plan. A topical sealer can slow absorption, but it won’t rebuild a failed liner. It’s like painting over a roof leak. The stain fades, but the wood keeps getting wet.
Health and damage risks when the leak stays hidden
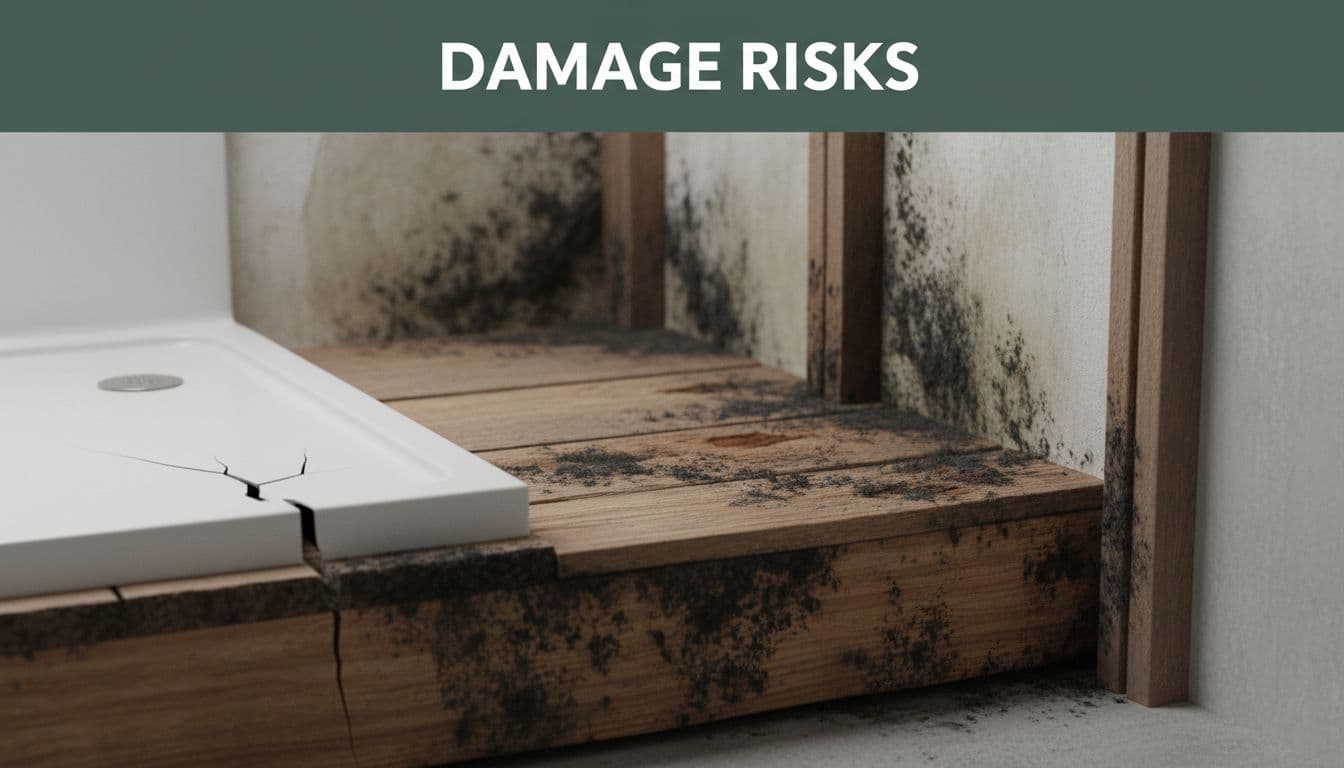
When a shower pan leaks, the worst damage is often out of sight. Water can soak a subfloor, wick into drywall, or sit behind baseboards. In Florida, that trapped moisture doesn’t just dry out on its own.
Here’s what can happen if shower pan leak signs are ignored:
Mold growth can start in hidden areas, even if the bathroom “looks clean.” Florida’s humidity makes it easier for spores to take hold, especially behind tile backer and inside wall cavities. For health basics and cleanup cautions, the Florida Department of Health mold guidance is a solid reference.
Wood rot and corrosion are the next wave. Rotten subfloors, rusted fasteners, and crumbling drywall paper can turn a contained repair into a rebuild.
Hidden moisture can also spread beyond the bathroom. Water doesn’t respect room labels. It follows gravity, seams, and framing. That’s why some owners first notice a damp closet, bubbling paint, or a stained ceiling downstairs.
The earlier you confirm the source, the more options you usually have.
Typical repair paths (from least invasive to full replacement)
The right fix depends on what failed: the surface, the waterproofing, or the structure beneath.
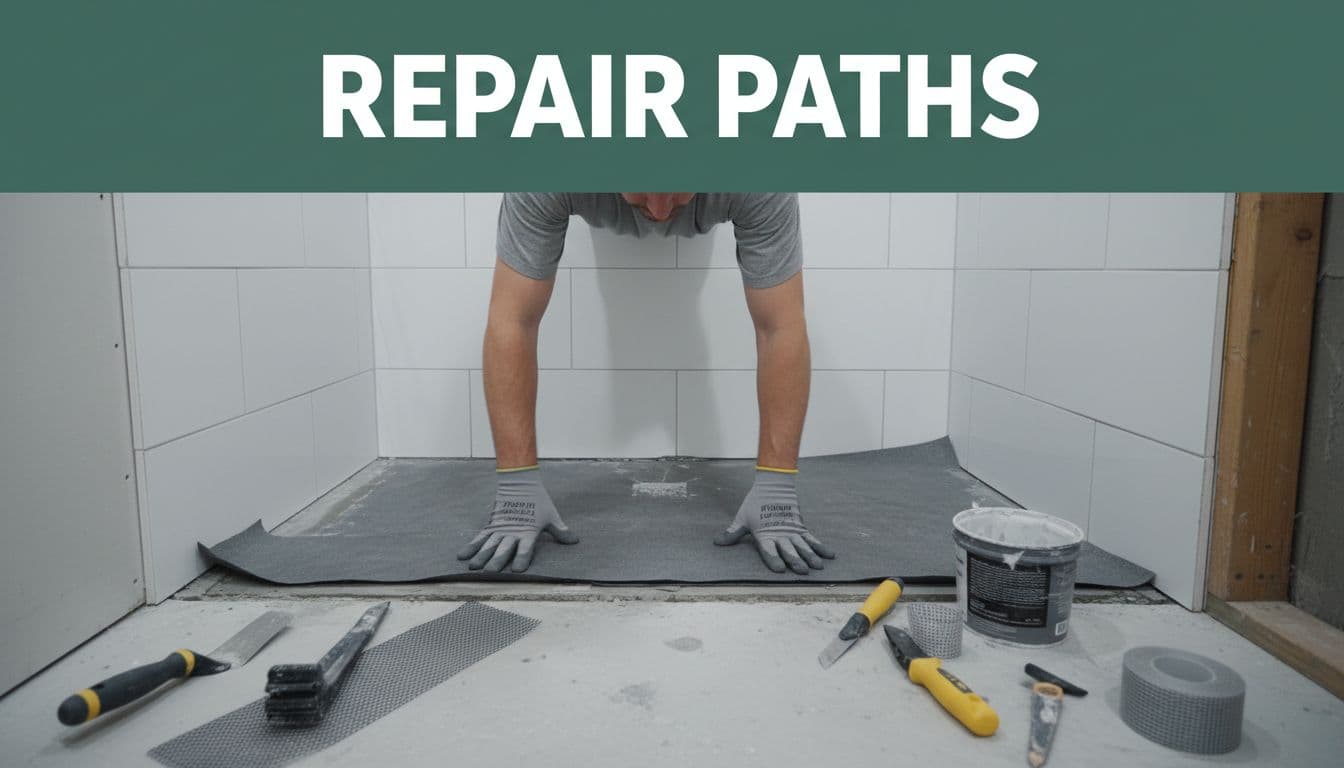
Regrout and recaulk (cosmetic maintenance) can help when the shower is sound but the joints are worn. It’s best for minor cracking or gaps at corners, after the underlying waterproofing has been ruled out as the cause. If water is escaping under the tile, fresh grout won’t stop it.
Targeted waterproofing repair may work when the leak is localized, for example, at the curb, the drain connection, or a failed corner detail. Pros may remove a small section of tile, rebuild the waterproofing, then retile. This is a common “middle path” when the structure is still solid.
Full shower pan replacement becomes likely when the liner fails broadly, the slope is wrong, the setting bed stays saturated, or the subfloor has softened (in a wood-framed floor). Replacement often pairs well with a remodel, because access and dry-out matter as much as the pan itself. For a general overview of why pans fail and what fixes are commonly used, see Angi’s guide on signs a shower pan is leaking.
Safety and condo notes before invasive work
If the repair involves opening walls, pulling tile, or running drying equipment, it’s smart to use licensed and insured local professionals. In condos and many HOAs, you may also need to notify management before demolition, because water can affect shared walls and units below. Plan for water shutoff access, too, since some buildings control shutoffs centrally.
Conclusion: act on small clues before they turn into major repairs
Most shower pan leaks don’t announce themselves loudly. They whisper through smells, stains, and tiles that won’t stay put. If you’re seeing shower pan leak signs in your Cape Coral bathroom, confirming the source now can prevent mold and hidden structural damage later.
When the clues keep repeating, don’t keep resealing and hoping. Get a proper inspection, document what you see, and loop in your HOA if you share walls or floors. The sooner the leak stops, the sooner your home can truly dry out.