
Garage Flood Cleanup: First Steps for Homeowners
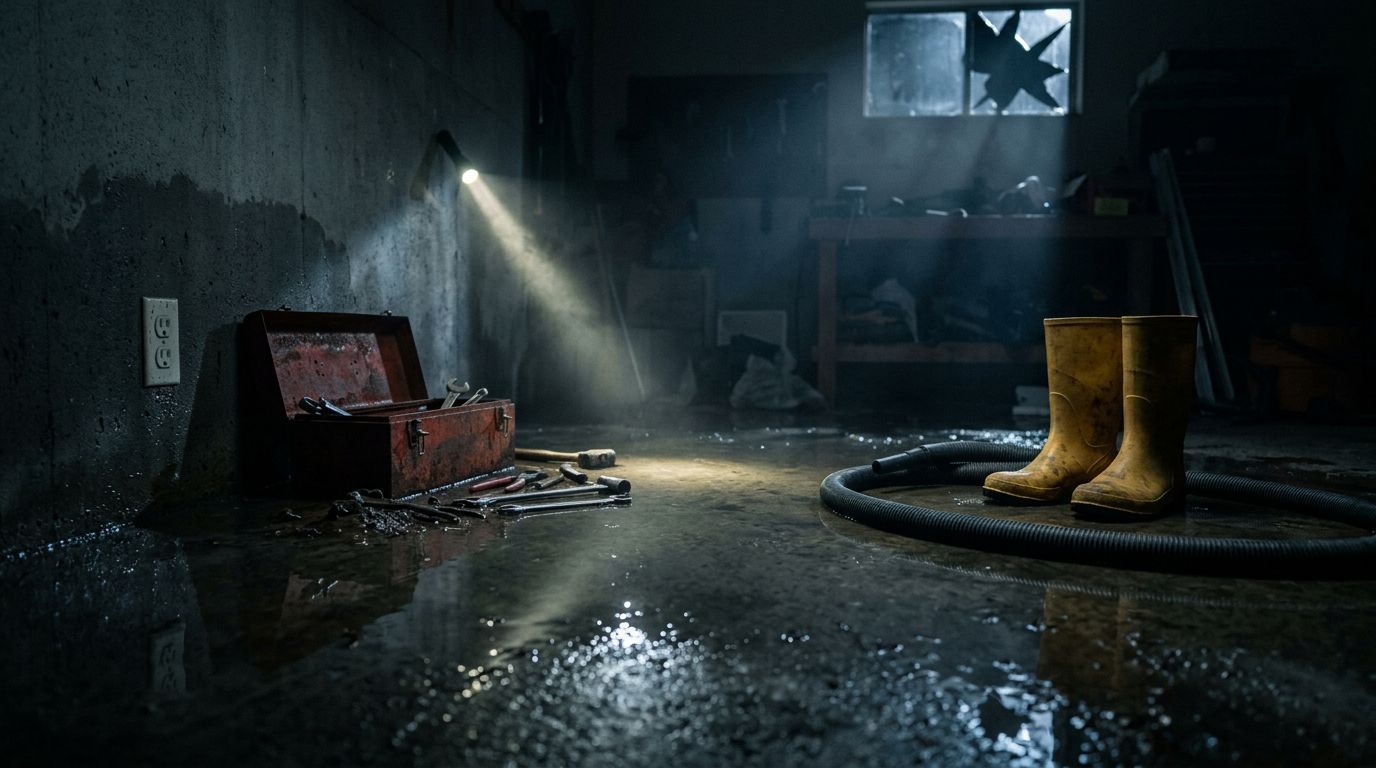
A garage flood gets worse fast. Water can soak cardboard, reach outlets, rust tools, and creep under wall plates before the floor even looks truly wet.
If you move too fast, you can spread contamination or create an electrical hazard. If you move too slowly, mold and hidden moisture can turn a cleanup into a bigger repair.
The first steps are simple, but they matter. Start with safety, then document what happened, remove water, and dry the space before damage spreads.
Key Takeaways
- Cut power and stay out if water reached outlets, the opener, or stored electrical gear.
- Treat sewage, stormwater, and chemical spills as contaminated, not as a basic mop-up job.
- Take photos before you throw anything away, then keep receipts and notes for insurance.
- Remove standing water quickly, but do not use a regular household vacuum.
- Dry concrete, walls, and contents fully, because a surface that feels dry can still hold moisture.
Garage Flood Cleanup Starts With Safety
Before you step into the garage, look for electrical and contamination risks. If the water reached outlets, the garage door opener, extension cords, power tools, or the electrical panel, stay out until the area is safe. Water and electricity do not mix, and a damp garage can hide a live hazard under a thin layer of moisture.
If you can reach the main shutoff safely and the source is a supply line, a water heater, or an appliance, turn it off. If the water is already near wiring, standing on wet concrete, or close to the panel, do not guess. Call an electrician or utility provider if needed.
Also check what the water came from. Clean water from a burst line is one thing. Floodwater, storm runoff, or sewage backup is another. If the garage holds paint, gasoline, pesticides, fertilizer, batteries, or cleaning chemicals, treat those items carefully too. A cracked container can turn a water problem into a chemical one.
FEMA’s flood cleanup guidance is a helpful safety reference when you’re deciding what to touch first and what to leave alone.
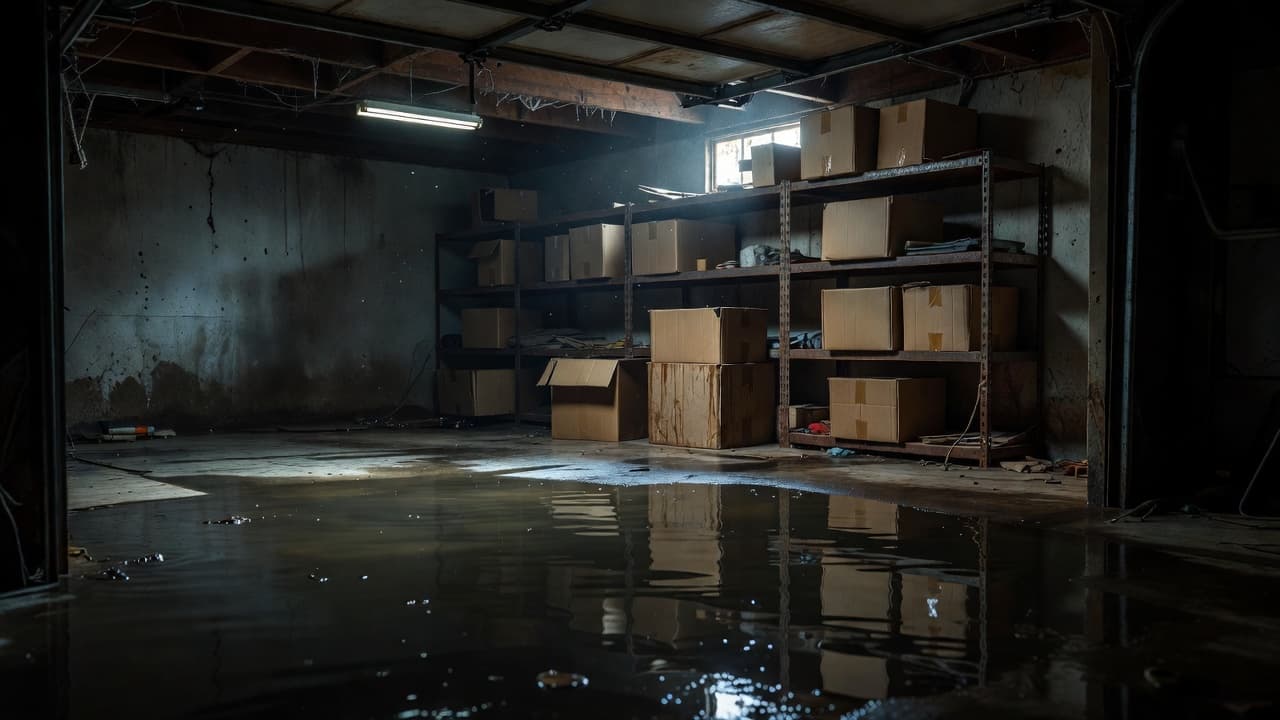
Keep children and pets out of the garage. If the water smells oily, sewage-like, or chemical, treat the whole area as contaminated until you know more. A garage that looks calm can still hold a bad mix of slippery floors, sharp debris, and airborne germs.
Stop the Water and Record the Damage
Once the area is safe, stop the water if the source is still active. Then document everything before you move major items. Good notes make insurance conversations easier later, and they help you remember what was damaged when the garage is empty again.
Use a simple sequence in the first hour:
- Shut off the water source if you can do it safely.
- Turn off power to the garage only if you can reach the breaker without stepping into a hazard.
- Take wide photos of the full garage, then close-ups of walls, outlets, the floor, stored items, and any visible stain line.
- Write down the time you found the flood, the suspected source, the weather, and any smell you notice.
- Save damaged items, receipts, and contractor estimates in one folder.
That folder matters more than most people expect. Save receipts for extraction, fans, dehumidifiers, tarps, shop-vac rentals, laundry, hotel stays, and dump fees if your policy allows them. Keep digital copies on your phone and originals in a dry place.
If you plan to file a claim, ask your insurer what they want first. Some policies require a sworn proof of loss within a set window, often 60 days, but your policy may be different. If you and the insurer later disagree on the value of the loss, some Florida policies use appraisal to settle the number, not the coverage decision itself.
Replacement-cost coverage and actual-cash-value coverage work differently too. RCV often pays more after repairs are completed, while ACV subtracts age and wear. That is one reason it helps to save damaged items until you know what your policy requires.
A garage can look manageable on day one and still hide wet insulation, damp drywall, or corrosion behind the wall the next day.
If you want a garage-specific cleanup outline, this garage flood cleanup guide gives a practical starting point for basic recovery.
Remove Standing Water Without Spreading It
Once you have photos and notes, start removing water. The longer it sits, the more likely it is to creep into drywall, door trim, storage shelves, and the lower edge of the wall cavity.
For a clean-water event, a wet/dry vacuum, squeegee, mop, and bucket can handle a small garage flood. A sump pump can help if the water is deep enough. A regular household vacuum should stay in the house, because it is not made for standing water and can create a shock risk.
Sort the water source before you decide how far to go. The difference matters.
| Water source | What it usually means | First move | DIY? |
|---|---|---|---|
| Burst pipe or supply-line leak | Usually clean water, but still a slip and electrical risk | Shut it off and remove standing water | Often yes, if it stayed shallow and away from wiring |
| Stormwater or street flooding | Dirt, bacteria, and debris are common | Keep people out and wear protective gear | Usually no if it reached walls, outlets, or insulation |
| Sewage backup | Pathogens and strong odor are likely | Leave the area and call a restoration pro | No |
That line is a good boundary for homeowners. Clean water can sometimes be handled at home if the flood is small and the electrical system stayed dry. Contaminated water changes the job entirely.
Move salvageable items out of the garage as soon as you can. Metal tools, plastic bins, bicycles, and sealed containers usually dry better than cardboard boxes, rugs, particleboard shelves, or paper labels. Cardboard and unfinished wood hold water like a sponge, so they often need to go.
If you see soaked drywall at the bottom of the wall, do not rush to patch it. Water often travels behind the surface, especially in garages that share a wall with the house. A quick cosmetic fix can trap moisture inside and make the repair more expensive later. Before you decide on the next step, our guide on old vs new water damage can help you assess whether the moisture is still active.
Dry the Space Before Mold Starts
Drying starts after the standing water is gone. Open the garage door and any windows if the water is clean and the weather is dry enough to help. Then set up fans and a dehumidifier so air moves across the slab and along the lower walls.
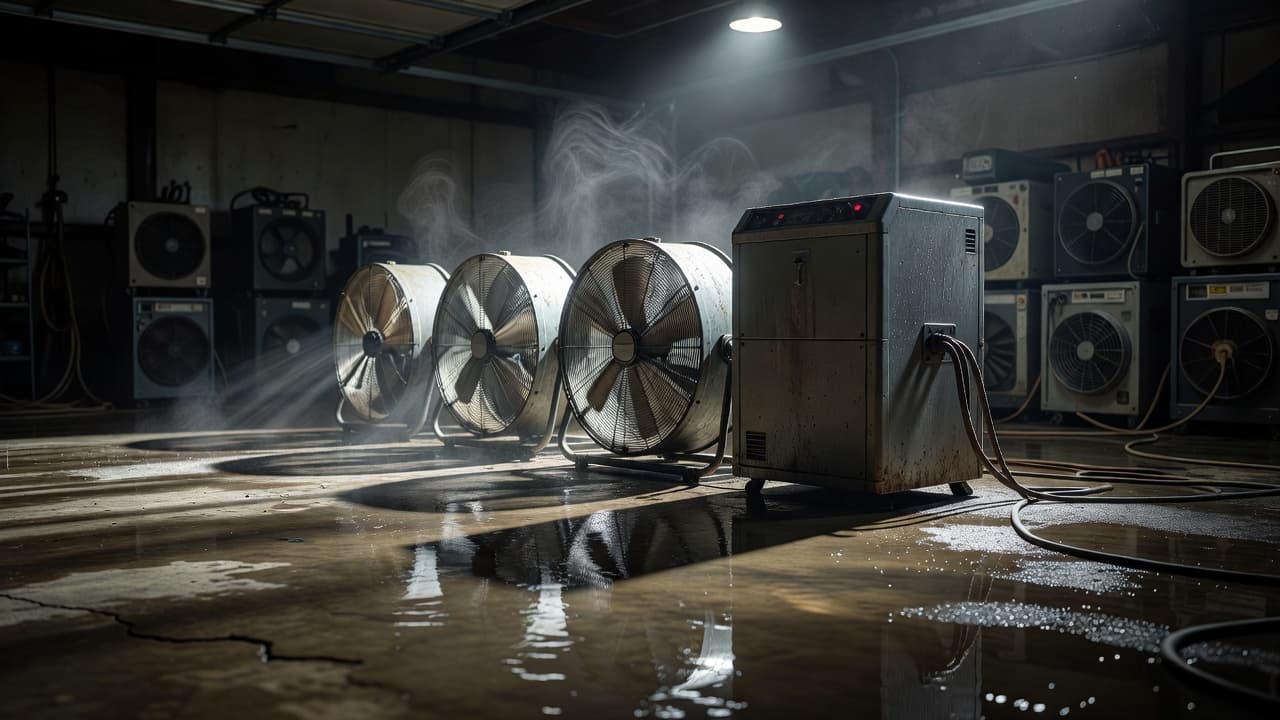
Concrete can fool people. It may look dry on top while moisture still sits in the slab or along the wall base. So can storage cabinets, foam padding, and the bottoms of cardboard boxes. If you have a moisture meter, use it on the floor, baseboards, and lower wall sections. If you do not, keep the drying equipment running and watch for lingering damp spots, cool surfaces, or a musty smell.
Pull wet items away from the wall so air can reach both sides. Lift anything that must stay in the garage off the floor with blocks or shelves. Wipe down metal surfaces to slow rust. If you find insulation, drywall, or trim that stayed wet for too long, it may need to come out.
Avoid sealing the garage up too early. A closed garage traps humidity, especially in warm weather. That can slow the dry-out and create the perfect setting for mold growth. Drying should continue until the slab, walls, and stored contents are truly dry, not just surface dry.
When Garage Flood Cleanup Needs a Pro
Some garage floods are manageable for a homeowner. Others cross the line fast. A professional restoration crew is the safer choice when any of these are true:
- The water is sewage, stormwater, or floodwater from outside.
- Water reached outlets, wiring, the breaker panel, or the garage door opener.
- The flood soaked insulation, drywall, cabinets, or built-in storage.
- The smell is strong, oily, or sewer-like.
- The concrete cracked, shifted, or stayed wet after several drying cycles.
- You see visible mold or dark growth.
A pro is also the right call when you need moisture readings, controlled demolition, or insurance-friendly records. Good crews document the damage before work starts, track drying progress, and note what was removed and why. That paper trail matters if you need to show the insurer why part of the garage had to come apart.
This is where a line-item estimate helps too. A useful estimate separates extraction, drying, demolition, sanitizing, and rebuilding. It should also say whether the job includes hidden moisture checks. A cheap quote that skips those checks can leave wet materials behind the wall.
In Florida and other storm-prone places, garages often pick up a mix of rain, debris, salt, and mud. That mix can carry more risk than a clean supply-line leak. If the water touched contaminated materials or the damage extends into the house wall, bringing in a licensed restoration company usually saves time and avoids mistakes.
Conclusion
A flooded garage does not need to become a bigger disaster. The first move is always the same, protect yourself, stop the water if you can, and document the scene before you start removing anything.
After that, the water source tells you what comes next. Clean water may be manageable with quick drying, but sewage, stormwater, and electrical damage need a more careful response.
If you keep the process simple, safety first, photos second, water removal third, and drying last, your garage has a much better chance of recovering without hidden damage following it into the next season.
