
Water Damage Drywall Repair in Cape Coral Homes 2026 Guide

A wet drywall spot can look small, then grow like a bruise overnight. In Cape Coral, that’s common after a roof leak, AC drain backup, pipe break, or storm-driven rain. The bigger problem is often what you can’t see behind the paint.
This guide walks through water damage drywall repair from the first safety checks to drying verification, patching, and finishing. It also covers mold prevention in Florida’s humidity, plus realistic timelines, costs, and insurance documentation.
First, stop the source and make the area safe
Drywall is like a sponge wrapped in paper. Once it gets wet, it can hold moisture against studs and insulation. So the first goal isn’t cosmetics, it’s controlling water and reducing risk.
Start with these safety priorities:
- Electric shock risk: If water reached outlets, switches, or ceiling fixtures, turn off power to that area at the panel. If you’re unsure, keep it off and call a pro.
- Contaminated water: If the water came from a drain backup, toilet overflow, or floodwater, treat it as contaminated. Keep kids and pets away, wear PPE, and don’t start opening walls without a plan.
- PPE basics: Nitrile gloves, eye protection, and at least an N95 respirator for dusty demolition. If you see or smell mold, step up protection and consider professional help. The Florida Department of Health’s mold guidance is a solid reference for health and cleanup basics.
Next, do a quick “damage map” so you don’t miss hidden wet areas. Look along baseboards, below windows, around AC handlers, and under upstairs bathrooms.
Signs there’s hidden moisture behind the wall
Water doesn’t always travel straight down. It can wick sideways, pool at the bottom plate, or soak insulation like a wet blanket. Watch for:
- Musty odor that returns after the AC runs
- Bubbling paint, peeling, or soft drywall paper
- Baseboards swelling, separating, or darkening at seams
- A wall that feels cool and damp compared to a nearby dry wall
- Drywall that crumbles when you press it (especially near corners)
If the wall cavity got wet, a “paint-over” fix usually fails. The stain comes back, texture blisters, or mold shows up later.
Drying comes before repair (and you need proof it’s dry)
Drywall repair is tempting to start right away. However, closing up a damp cavity is like putting a lid on a warm container. In Cape Coral humidity, that trapped moisture can feed mold fast.
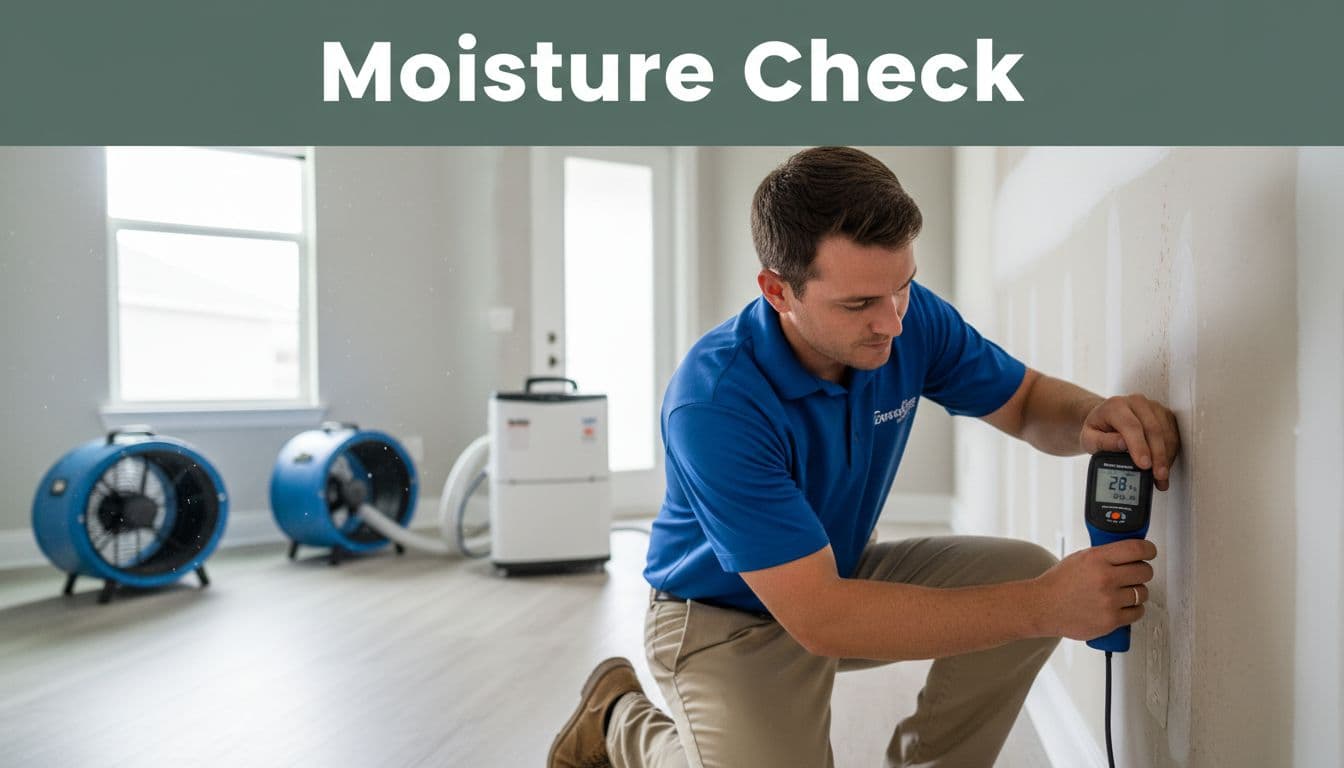
Drying equipment that actually helps (and why)
You’ll usually see pros use a combo, because each tool does something different:
- Air movers: Push air across wet surfaces, which speeds evaporation. Place them at a shallow angle toward the wet wall or floor line.
- Dehumidifiers (often LGR units): Pull moisture out of the air so evaporation can continue. Without dehumidification, the room air saturates and drying slows.
- HEPA air filtration (as needed): Helps control dust during demo and can reduce airborne particles if mold is suspected.
Keep doors and windows managed. In Florida, open windows can bring in humid air and slow drying. Often, it’s better to run the AC with dehumidification and keep the space closed.
Moisture measurement: don’t guess, verify
A moisture meter is your reality check. Readings vary by meter type, so focus on comparison and trend:
- Take a reading on a known dry area nearby to create a baseline.
- Measure the wet area in a grid pattern (low, mid, high on the wall).
- Re-check daily and write down the results with dates and locations.
- Don’t close the wall until readings are back near the dry baseline.
If a wall “feels dry” but reads high on the meter, it’s still wet where it matters.
For mold prevention tips that fit Florida homes, the UF/IFAS Extension overview on mold management offers practical habits that pair well with professional drying.
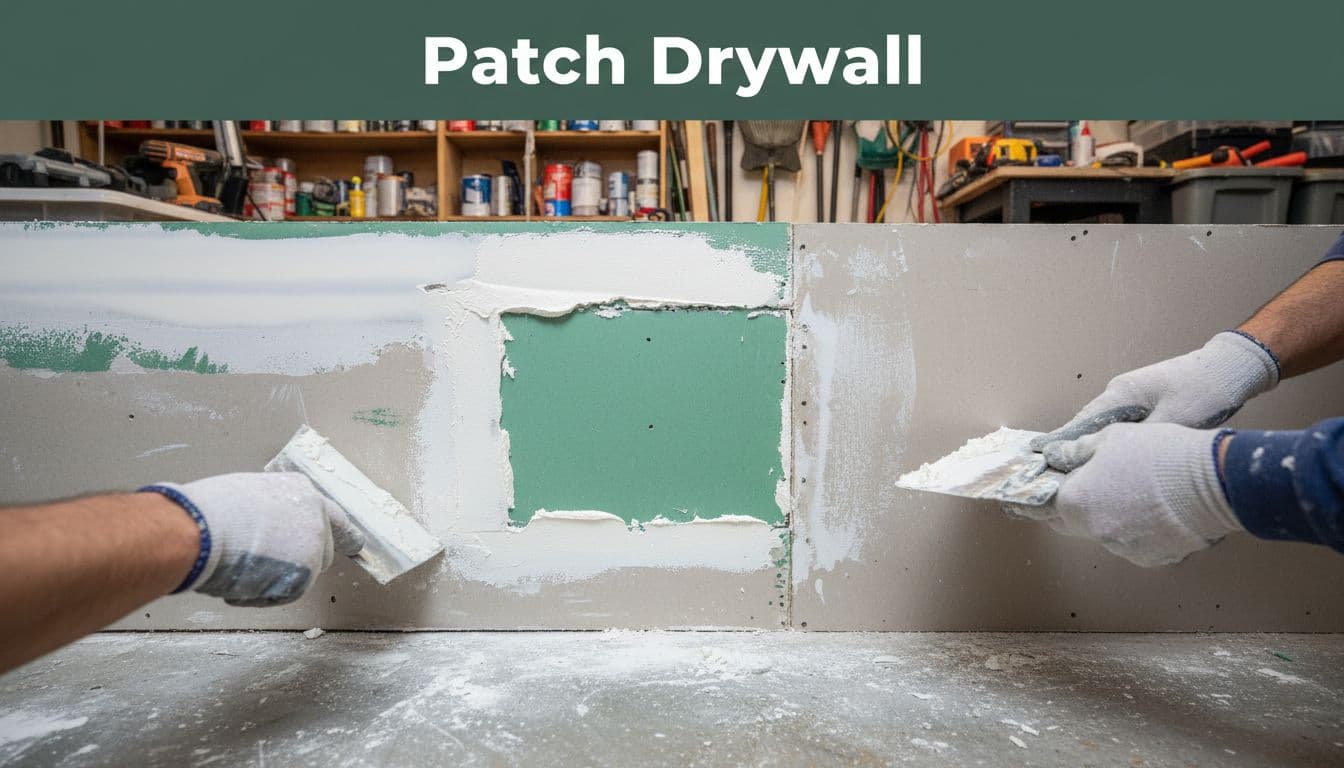
Repairing water-damaged drywall the right way (patch, texture, paint)
Once drying is confirmed, you can shift to the visible part of water damage drywall repair. The right repair depends on how far water traveled and whether insulation or framing got wet.
A contractor will often use a “flood cut” (removing drywall 12 to 24 inches up) when the bottom of the wall is affected. This gives access for drying and helps avoid leaving a damp strip behind baseboard height.
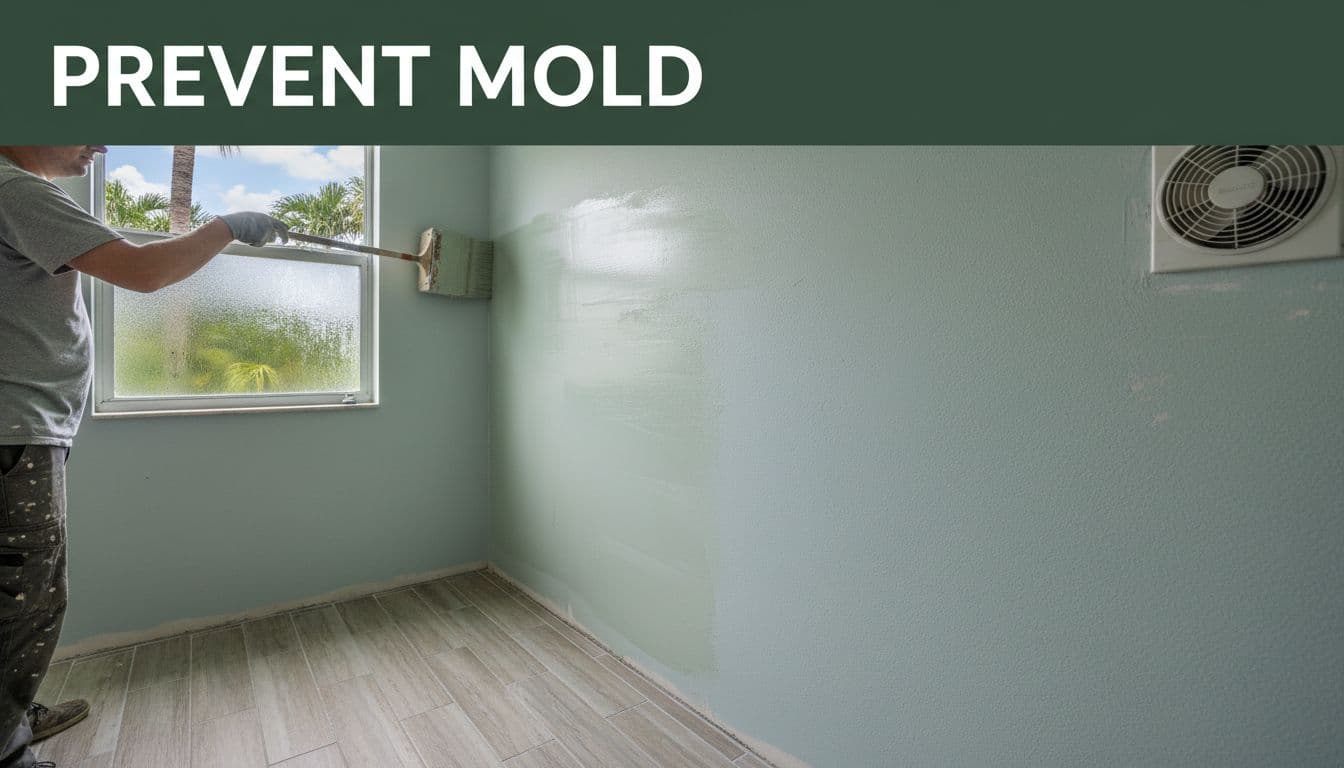
Choosing better materials for bathrooms, laundry rooms, and garages
Cape Coral homes often have moisture-prone zones. Material choices can reduce future issues:
- Mold-resistant drywall: Helpful in bathrooms (outside shower/tub surrounds), laundry rooms, and other humid spaces.
- Paperless (fiberglass-faced) panels: Reduce food source for mold compared to paper-faced drywall in some applications.
- Cement board: Use in shower enclosures and areas that see direct water, not standard drywall.
For a quick explainer on product types and where they make sense, see this overview on moisture and mold-resistant drywall. Always follow manufacturer install rules, and if you’re changing wall assemblies, check local requirements (especially in condos).
Matching texture and paint so the patch disappears
Texture matching is where many repairs look “patched.” The trick is to treat it like blending makeup, not painting a dot.
- Feather your joint compound wider than the patch so the transition is gentle.
- Prime before texture if the paper face was exposed or skim-coated heavily.
- Test texture on scrap first. Orange peel and knockdown can look close, but nozzle size, air pressure, and mud thickness matter.
- Prime with the right product: Water stains can bleed through paint. A stain-blocking primer may be needed before your finish coat.
- Paint the whole wall when possible: Even perfect color matches can flash in Florida sunlight and angled lighting.
Timeline, cost ranges, and an insurance documentation checklist
Every job is different because water source, saturation time, insulation type, and access change everything. Still, it helps to have realistic ranges when you’re planning repairs or managing tenants.
Here’s a quick way to think about scope:
| Scenario | Typical work involved | Common timeline range |
|---|---|---|
| Small clean leak (one wall/ceiling spot) | Localized drying, patch, texture, paint | 2 to 7 days |
| Wet lower walls (baseboard line) | Flood cut, dry cavity, replace insulation if needed, rebuild | 4 to 14 days |
| Storm or contaminated water | Containment, removal, disinfecting, more drying, larger rebuild | 1 to 3+ weeks |
In many Cape Coral homes, a small patch repair might land in the hundreds to low thousands, while multi-room removal and rebuild can reach several thousand to five figures. Costs swing based on how much drywall comes out, whether cabinets or flooring are involved, and whether the water was contaminated.
Documentation checklist for insurance claims
Good paperwork can save days of back-and-forth. Keep it simple and consistent:
- Photos and video from the first day (wide shots and close-ups)
- A written timeline (when you noticed it, when water stopped)
- Moisture meter readings with dates and locations
- Drying equipment notes (type, days run, settings if known)
- Receipts and invoices (mitigation, materials, labor)
- Any lab results or reports, if testing was done
- A folder of emails and claim notes (adjuster names, dates, summaries)
If the damage involves structural framing changes, electrical relocation, or plumbing reroutes, check City and condo rules before rebuilding. Some projects may require permits or approvals.
Conclusion
Drywall can hide water like a sponge behind a painted mask, especially in humid Cape Coral weather. The safest path is consistent: stop the water, protect people, verify drying with measurements, then rebuild with materials that fit the room. If you’re dealing with a bigger loss, contaminated water, or signs of mold, getting a local restoration pro involved early can prevent a second round of repairs later.