
Remove Mold From Bathroom Grout Without Damaging Tile
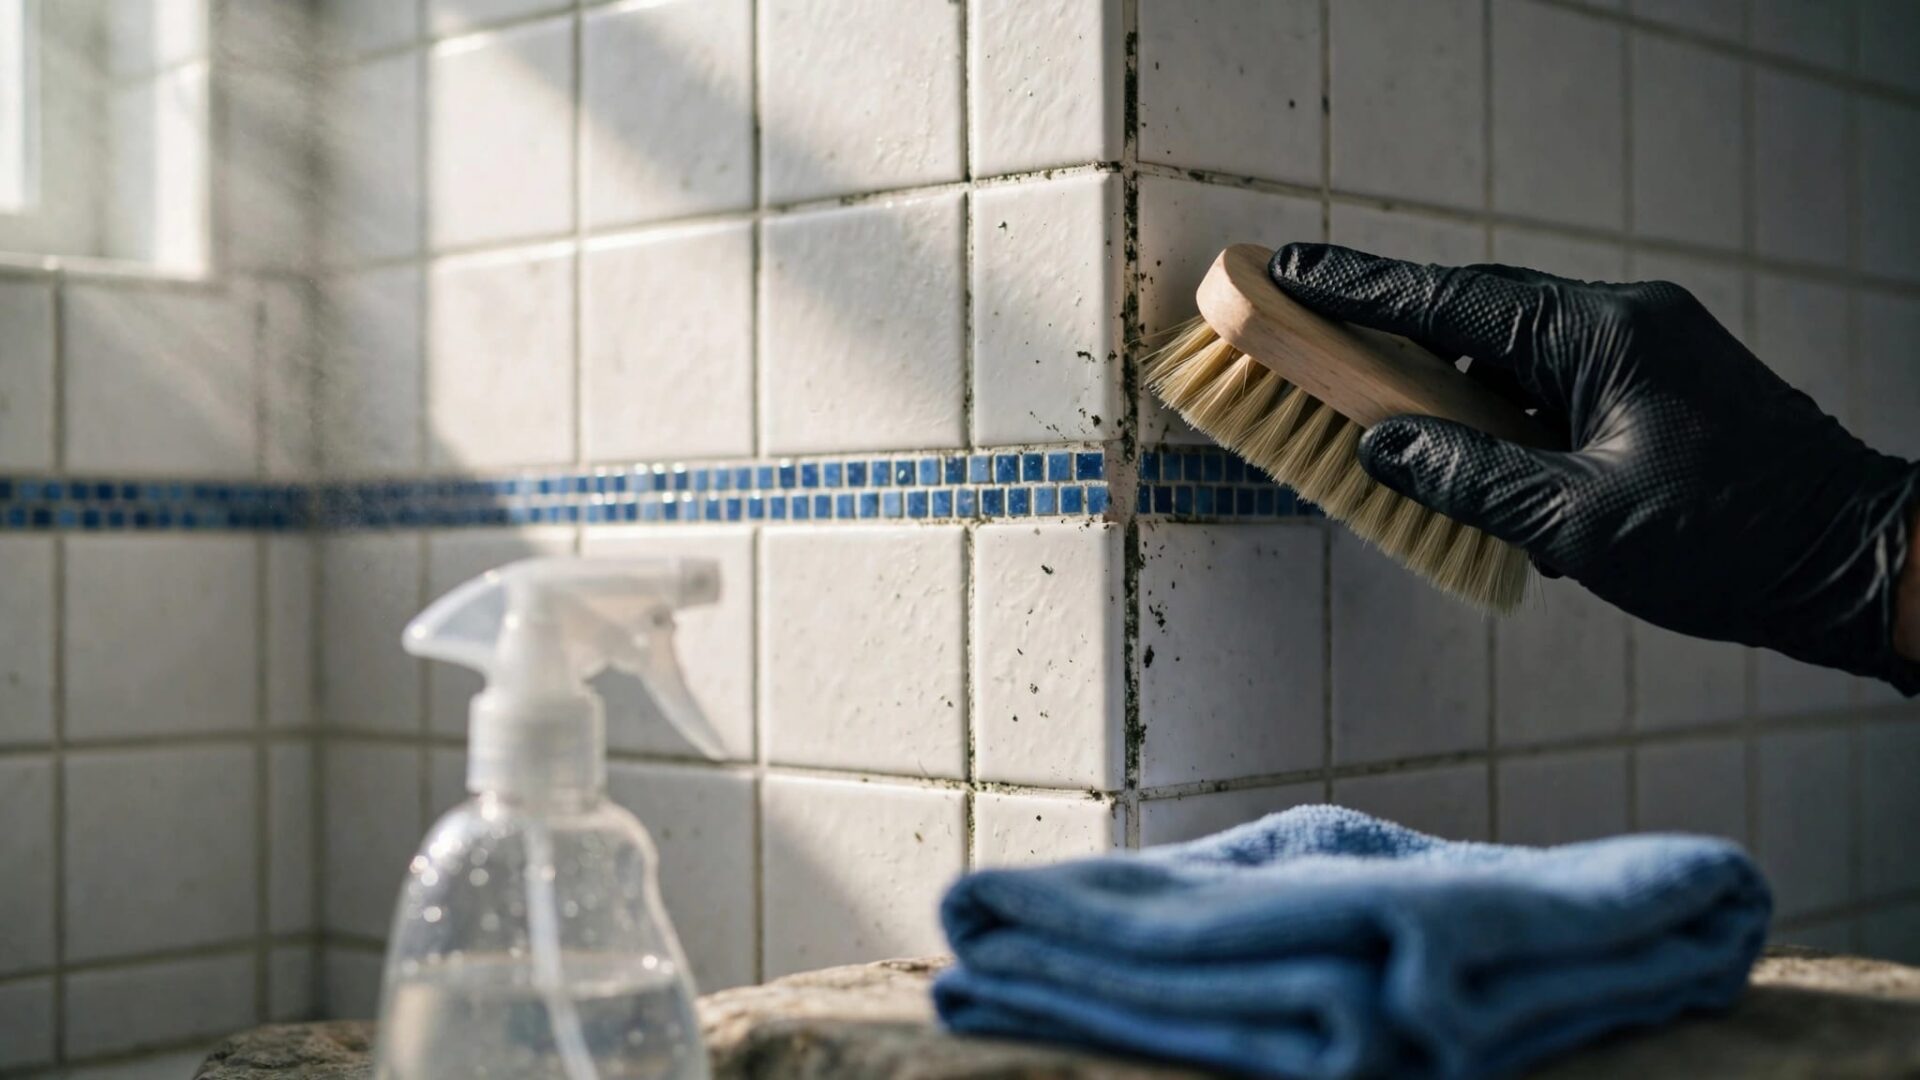
To remove mold from bathroom grout safely, start with detergent, water, and a nylon brush, then rinse and dry thoroughly. For remaining stains, use a tile-compatible cleaner at its labeled dilution and contact time.
We recommend a gentle-first approach to bathroom grout mold removal because stronger chemicals can damage grout, sealers, and nearby finishes. In Cape Coral, Naples, and Fort Myers, humidity makes drying and ventilation just as important as cleaning.
First, separate a small surface-cleaning job from signs of hidden moisture.
Last Updated: October 2026
Key Takeaways
- Start with detergent and a medium-bristle nylon brush, rather than bleach or abrasive powders.
- Never combine cleaners, and avoid acidic cleaners or bleach on natural stone.
- Recurring spots, loose tiles, or musty odors need moisture investigation before regrouting or sealing.
Bathroom Grout Mold Removal Starts With Safety
Protect Against Spores and Cleaning Fumes
Wear chemical-resistant gloves, splash goggles, and a properly fitted N95 respirator when disturbing visible growth. An N95 can help reduce exposure to airborne particles, including mold spores, but doesn’t protect against bleach fumes. Run an exhaust fan that vents outdoors, and keep children and pets away.
Never mix bleach with vinegar, ammonia, acids, or any other cleaner. Dangerous fumes can result. Also, don’t apply one cleaner over residue from another.
The EPA’s home mold cleanup guidance generally allows homeowner cleanup for areas smaller than about 10 square feet. Floodwater, sewage, extensive growth, or suspected hidden contamination warrant professional help. Renters should report leaks and recurring growth to the property manager before attempting repairs.
Protect Tile, Grout, and Nearby Finishes
On marble, granite, and other natural stone, avoid acidic cleaners and bleach. Dark natural stone can also discolor with unsuitable chemicals, so use a stone-safe product that meets the manufacturer’s care instructions.
Avoid wire brushes, steel wool, and abrasive powders such as Borax or Comet. They can scratch finishes and wear grout. Instead, use nylon bristles with light pressure.
Patch-test your chosen cleaner in an inconspicuous spot. Once dry, look for changes in color, sheen, or grout texture before treating the visible area.
Choose a Cleaner for the Surface and Stain
We separate mold cleanup from stain removal. Physically removing growth and drying the surface matter more than whitening the grout.
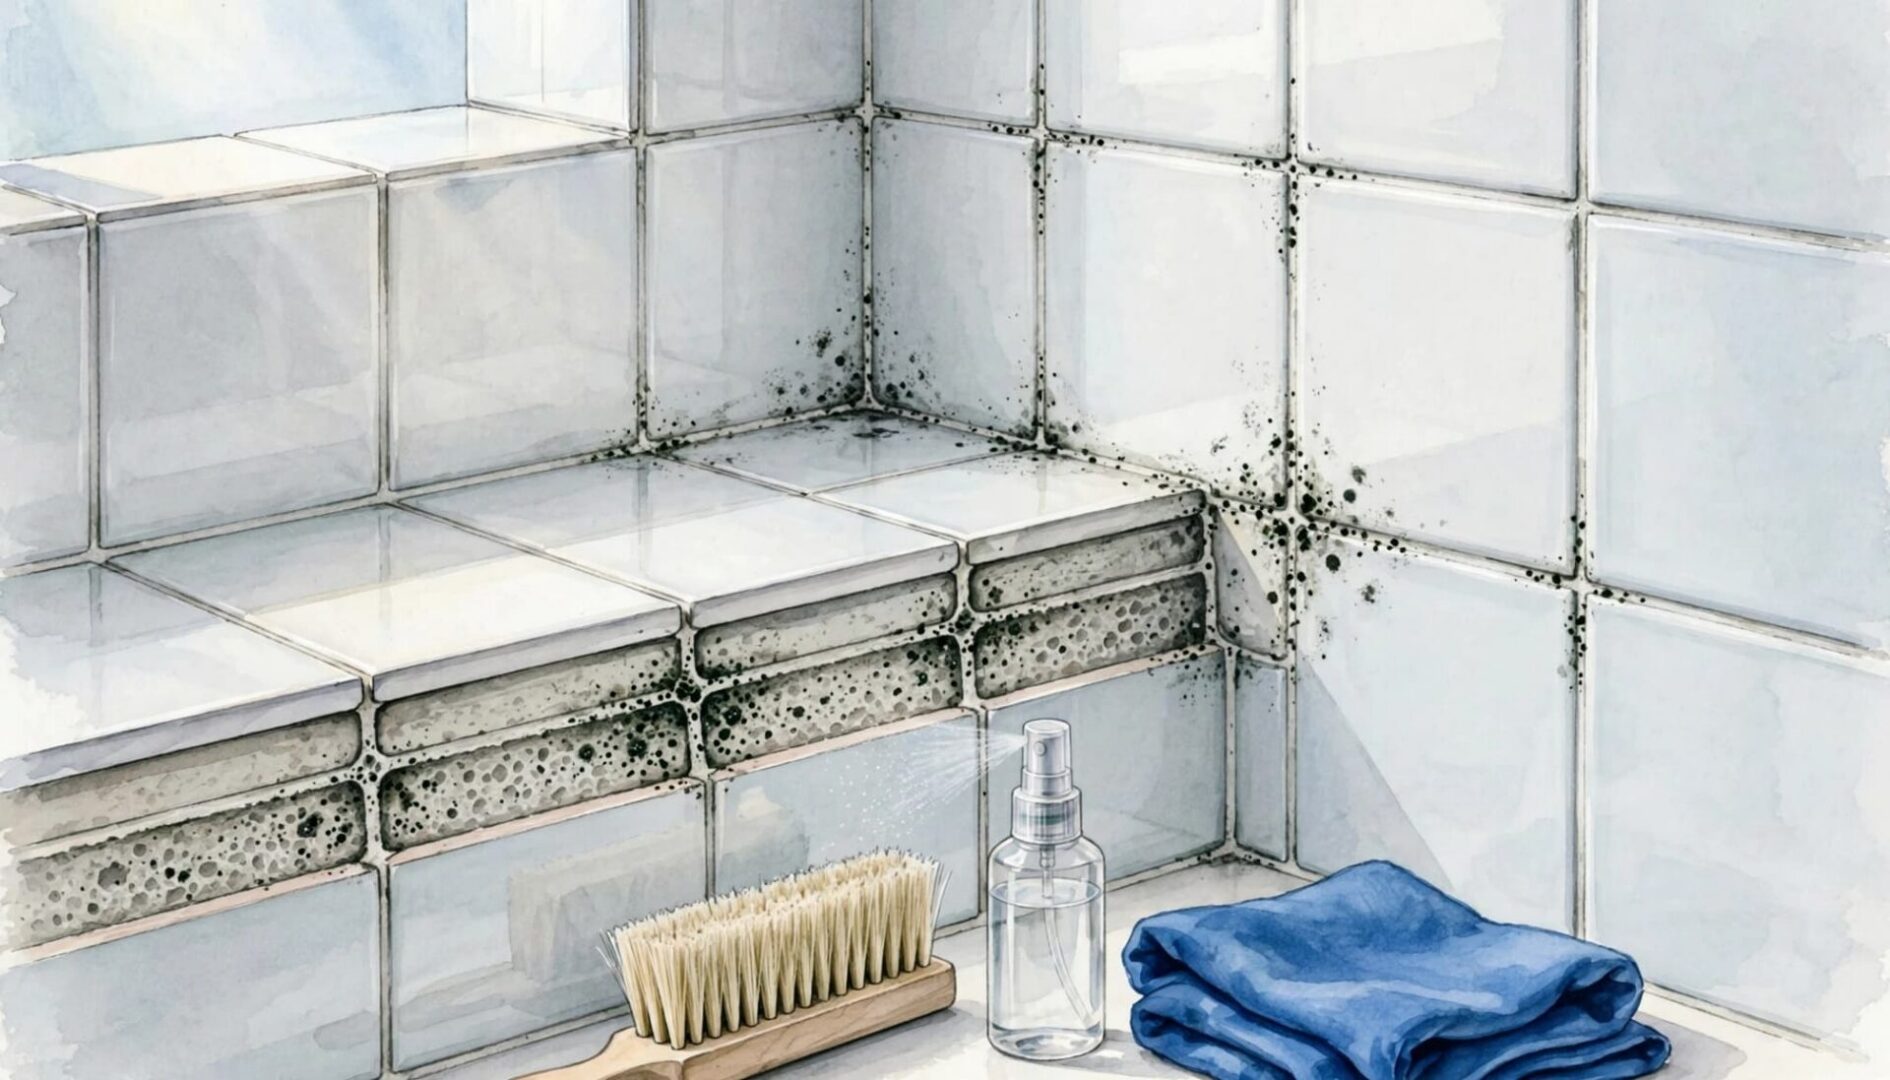
These choices help you avoid unnecessary chemical exposure.
| Surface or Problem | First Choice | Main Caution |
|---|---|---|
| Small surface growth on ceramic or porcelain | Detergent and water | Rinse and dry completely |
| Remaining mildew stains on compatible tile | Labeled mold-and-mildew cleaner | Follow dilution and contact time |
| Marble, granite, or other natural stone | Stone-safe cleaner | Avoid acids and bleach |
| Crumbling grout or loose tile | Moisture assessment and repair | More scrubbing can worsen damage |
Wirecutter recommends an alkaline cleaner, such as Tilex Mold & Mildew, for mold stains. Lower-pH products, including Bar Keepers Friend’s acidic cleaner formulations, address rust and lime instead.
However, stronger stain removal doesn’t prove that hidden contamination is gone. Choose the cleaner for the material, then assess whether moisture remains.
Clean Moldy Grout Step by Step
Gather gloves, goggles, an N95 respirator, detergent, a scrub brush with nylon bristles, a bucket, clean cloths, and your selected compatible cleaner.
- Inspect before wetting the area. Look for missing grout, cracked corners, loose tiles, and soft nearby drywall. Stop if the surface is unstable or moisture appears to extend behind it.
- Wash away surface buildup. Apply detergent and water, then gently scrub the grout. Soap residue can shelter growth and interfere with stain treatment. Rinse thoroughly.
- Treat remaining stains if needed. Use a bleach solution only if the product label permits it on that surface. For compatible surfaces, Clorox’s grout-cleaning directions specify 1/3 cup of Clorox Disinfecting Bleach mixed into 1 gallon of water. Apply for 10 minutes, then scrub and rinse. Follow your bottle’s label if its directions differ.
- Rinse adjoining surfaces too. Remove cleaner from tile, fixtures, shower tracks, and the floor. Don’t extend the dwell time or allow chemical residue to dry.
- Dry and inspect again. Wipe away water and keep the exhaust fan running. Judge the result once dry, because wet grout naturally looks darker.
A Stack Exchange recipe recommends spraying a 4:1 water-to-bleach mixture liberally, waiting about 15 minutes, then rinsing and wiping. We don’t recommend substituting this stronger forum mixture for manufacturer directions.
Repeated strong bleaching can weaken grout and damage sealers. If one correctly performed treatment fails, reassess the material and moisture source before increasing strength.
Understand Peroxide, Vinegar, and Bleach Gel
Hydrogen Peroxide and Baking Soda
For compatible ceramic or porcelain installations, a common DIY method combines 3% hydrogen peroxide with baking soda into a runny toothpaste consistency. Gently brush it into the grout, leave it for 10 to 15 minutes, and rinse with warm water.
Patch-test first, particularly on colored grout. Mix only enough for immediate use, and don’t store the mixture. This approach may lighten stains, but it doesn’t establish that mold within porous grout or behind tile has been removed.
White Vinegar
The usual method involves spraying undiluted white vinegar onto grout, waiting about one hour, scrubbing with medium nylon bristles, and rinsing with warm water.
We don’t recommend this acidic option as a default. Its acidity can attack cement-based grout and etch natural stone. It also isn’t a reliable solution for concealed growth. Use it only where the tile and grout care instructions expressly permit acidic cleaners, and never use it alongside bleach.
Clinging Bleach Gel
Online methods press paper towels soaked in clinging bleach gel against mold for 30 minutes to an hour. Reddit versions sometimes extend that contact overnight, for at least eight hours.
We don’t recommend these prolonged covered treatments unless the product label expressly authorizes them. Extended exposure can discolor grout, damage finishes, and leave concentrated residue.
A gel’s ability to stay on a vertical surface doesn’t mean the grout can tolerate hours of chemical contact.
For stubborn stains, choose a grout-compatible gel and follow its exact application, contact-time, and rinsing directions.
Decide Whether to Clean, Regrout, or Repair
Separate Grout Stains From Failed Caulk
Grout is the firm material between tiles. Flexible caulk usually fills corners and joints where walls meet the shower base or tub.
If black staining remains embedded in silicone after cleaning, replacement may be more practical than repeated bleaching. Failed caulk must come out before fresh caulk goes in. Covering it traps the existing problem.
Likewise, crumbling or missing grout needs repair. However, discoloration alone doesn’t prove active growth. Compare the dry appearance over time and watch for spreading spots or persistent dampness. Photographs taken after cleaning give you a useful baseline without repeated chemical treatment.
Investigate Recurring Growth Before Rebuilding
Rapid regrowth, musty odors, loose tiles, and damp adjoining walls suggest more than a surface stain. Our guidance on water-damaged tile repairs explains why the underlying assembly matters.
Cleaning can’t reach mold behind tile or inside walls. Regrouting alone won’t repair a leaking shower pan or failed waterproofing. Some showers need partial reconstruction or replacement.
For hidden contamination, professional work may include containment, removal of damaged porous materials, HEPA cleaning, and controlled drying. The leak must also be repaired. A final inspection, with clearance testing when appropriate, helps assess the result before reconstruction.
Keep Grout Dry in Southwest Florida Humidity
Run the bathroom exhaust fan during every shower and for at least 20 minutes afterward. If surfaces remain damp, run it longer and investigate weak airflow. The fan must discharge outdoors, rather than into the attic.
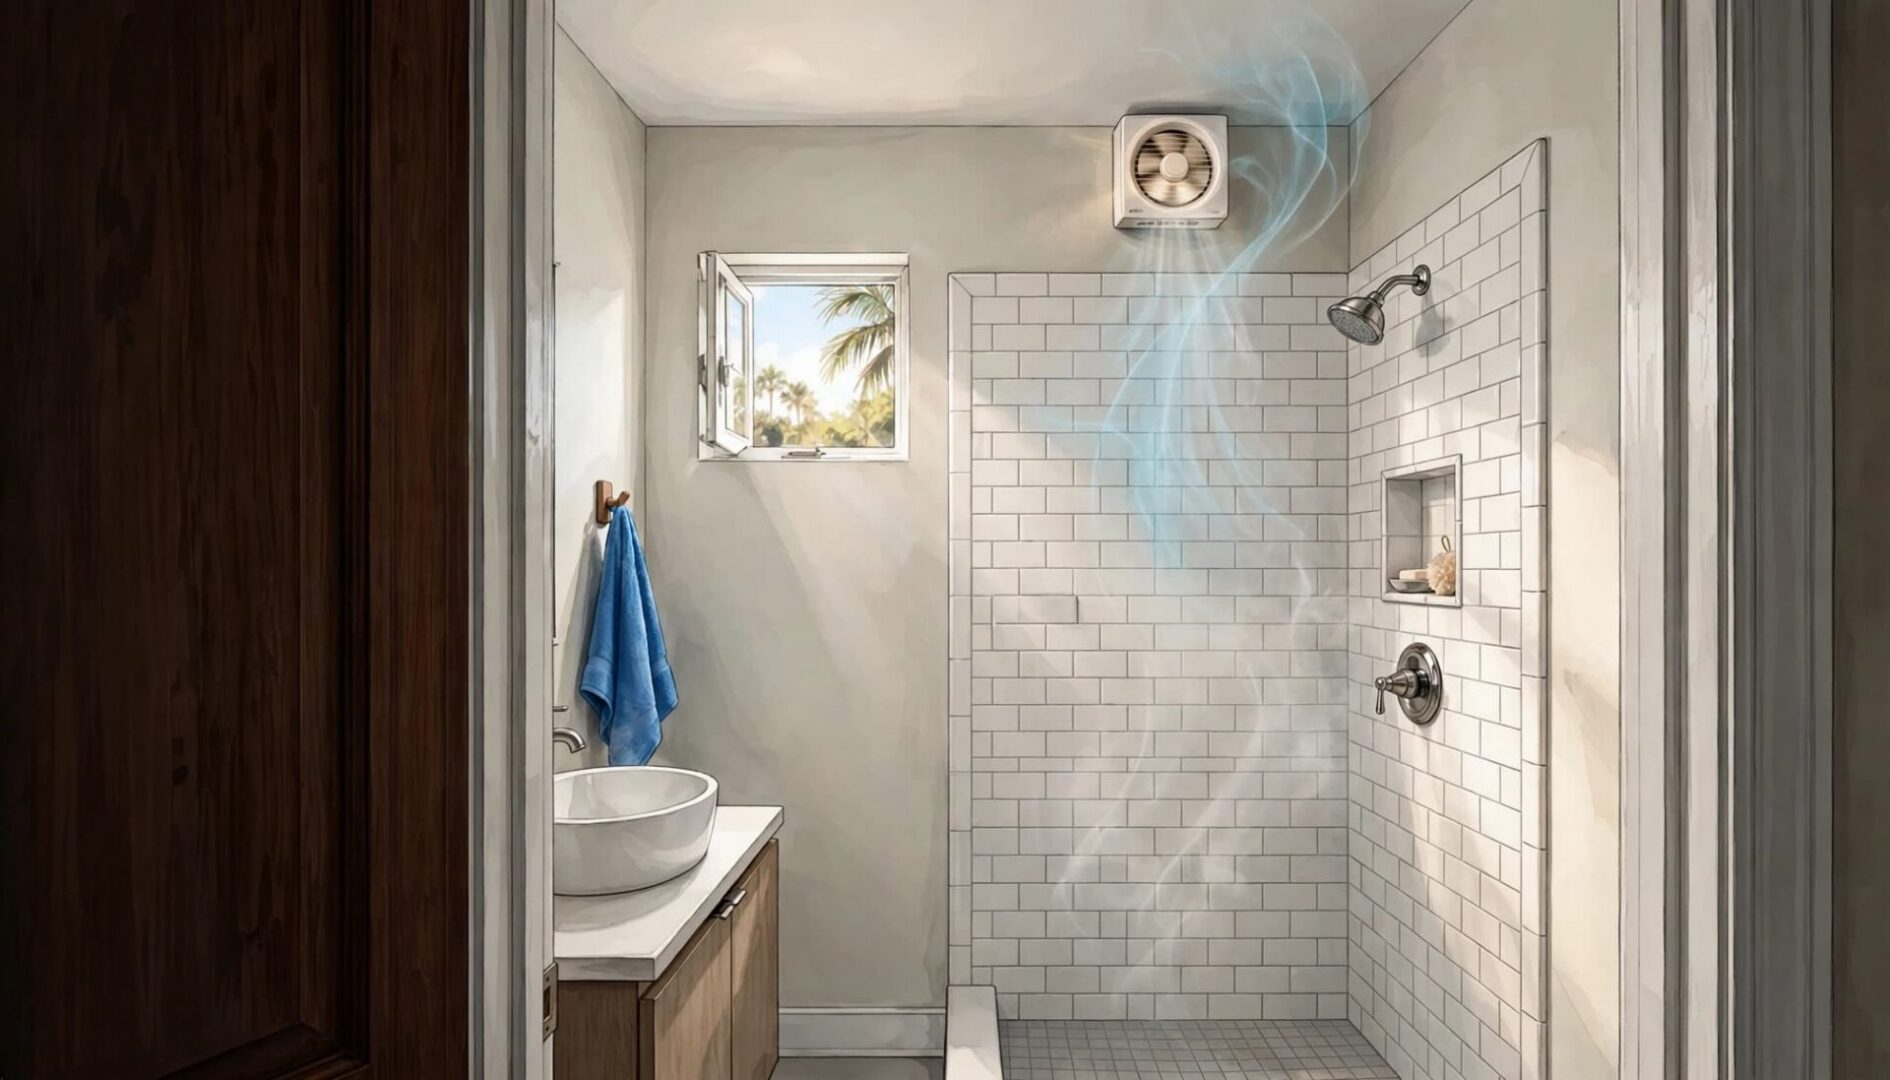
Squeegee shower walls and wipe corners where water collects. Clean soap residue every one to two weeks in frequently damp bathrooms.
The EPA’s mold and moisture guide recommends keeping indoor humidity below 60%, ideally between 30% and 50%. In Southwest Florida, air conditioning or a dehumidifier often works better than opening windows into humid outdoor air.
After cleaning, let grout dry fully before applying a compatible penetrating grout sealer where recommended. Sealer helps resist absorption and discoloration, but it doesn’t waterproof a shower or fix leaks. Epoxy grout generally doesn’t need sealing.
After hurricane-related leaks or flooding, prioritize moisture assessment and drying over cosmetic grout cleaning. Damp wall cavities can remain hidden behind intact tile, even after the visible bathroom surfaces look dry. Before leaving a seasonal home, address drips and maintain humidity control.
Frequently Asked Questions
Is Vinegar or Bleach Better for Killing Mold?
Neither is a universal solution for porous grout. Bleach-based products can remove stains on compatible surfaces, while acidic products can damage cement grout and stone.
We prioritize physical removal, rinsing, and complete drying. Neither chemical corrects hidden moisture or replaces removal of contaminated porous materials.
Does Black Grout Mean Toxic Mold?
No. Color alone can’t identify a mold species or establish its health risk. Black marks may include mold, embedded dirt, or staining in old caulk.
However, spreading growth, persistent odors, and recurring dampness deserve attention. Our mold inspection services can help identify moisture conditions and determine the next repair step.
Get Help When Grout Cleaning Doesn’t Hold
Safe cleanup protects the finish while addressing the moisture source. If growth returns, stop escalating chemical strength and investigate why the shower stays wet.
We provide mold removal in Cape Coral and serve Naples and Fort Myers, backed by more than 20 years serving local communities. Our licenses include CRC1333503, MRSA2528, and MRSR2717. We’re available 24/7 for emergencies and work with insurance companies when applicable; coverage depends on your policy and loss.
For recurring grout mold, leaks, or suspected hidden damage, contact our Cape Coral mold removal team or call (239) 633-6494 to schedule an appointment.
