
Old vs New Water Damage: How to Read the Clues
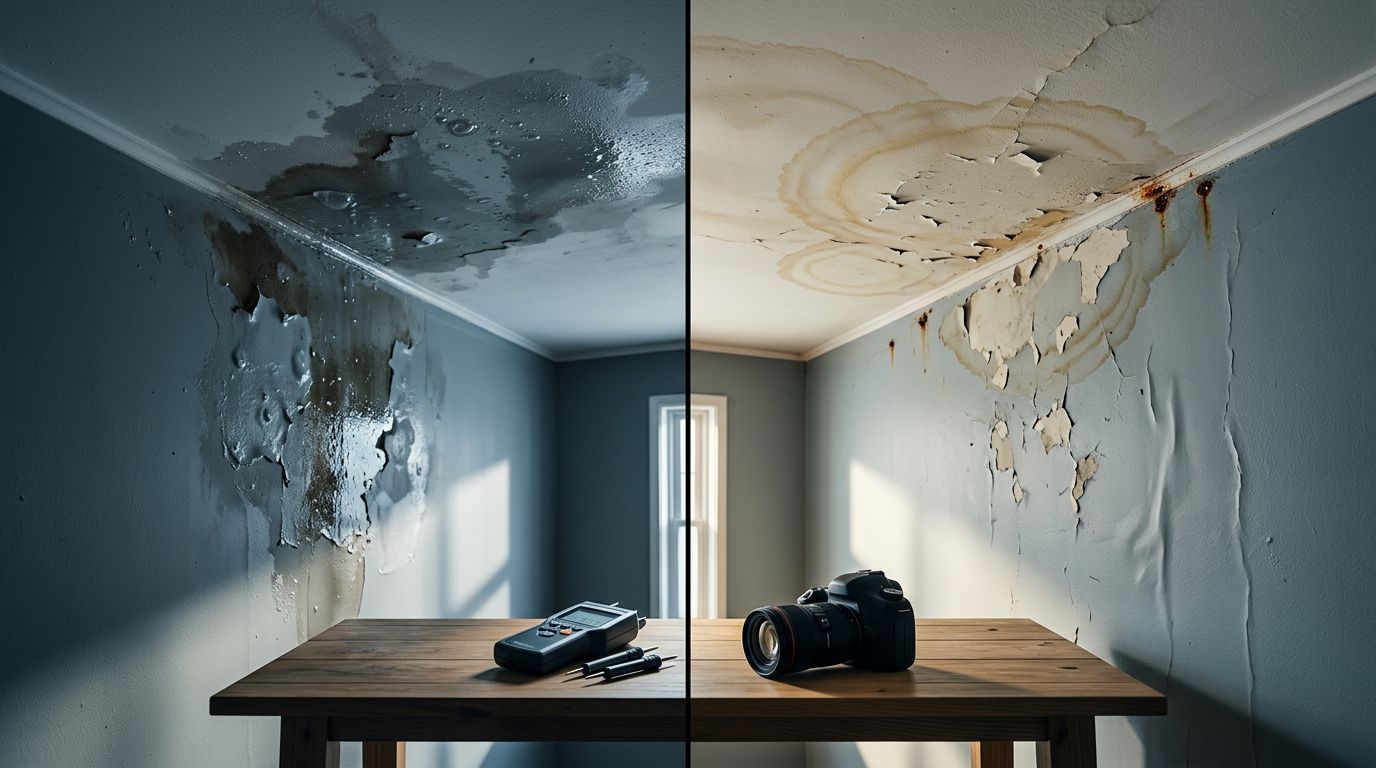
A fresh water stain can look alarming, while an old one may seem harmless. Knowing the difference helps you decide whether to dry the area, investigate a hidden leak, or call for professional help. However, old vs new water damage cannot be determined from color alone.
A dark ceiling spot, peeling paint, or musty odor may point to recent moisture, but those signs can also appear after an older leak becomes active again. Start with safe documentation, stop the water source if possible, and use moisture readings before making repairs.
Key Takeaways
- New damage often feels damp, looks darker, or shows active changes such as bubbling paint.
- Old damage may leave yellow-brown rings, cracked paint, rust, warped materials, or settled discoloration.
- Visual clues aren’t definitive because water can dry at the surface while remaining inside walls, ceilings, or flooring.
- Photograph the condition, stop active water safely, and avoid painting or closing walls until the area is dry.
- Call a qualified restoration professional, plumber, or electrician when damage involves hidden cavities, contaminated water, structural concerns, or electrical equipment.
How to Assess Old vs New Water Damage
The first clue is whether the affected material still contains moisture. A recent leak may leave drywall cool, soft, swollen, or slightly spongy. Paint can bubble, wallpaper may loosen, and ceiling texture can sag. You might also see an active drip, fresh dampness, or a stain that grows after rain or plumbing use.
Older damage often appears dry and more settled. The stain may turn yellow, tan, or brown, with a defined outer ring. Paint can crack, flake, or pull away from the surface. Wood trim may remain warped, fasteners may show rust, and a musty odor may linger even when the surface feels dry.
These patterns are useful clues, not proof. A recent leak can reactivate an old stain and make it look new. Likewise, a slow leak may stay hidden inside a wall while the visible surface looks unchanged.
| Sign | What it may suggest | Why it cannot confirm age |
|---|---|---|
| Dark, cool, soft drywall | Recent or ongoing moisture | The material may have absorbed water earlier |
| Yellow or brown ring | Older drying or repeated staining | A new leak can spread through an existing stain |
| Bubbling or peeling paint | Moisture behind the finish | Humidity and poor adhesion can cause similar damage |
| Musty odor | Damp material or microbial growth | Odors can remain after the source dries |
| Rusted fasteners or swollen trim | Longer exposure | Materials can deteriorate quickly in humid conditions |
The shape of the stain also matters. Water often travels sideways along drywall seams, ceiling framing, insulation, and flooring layers. As a result, the visible spot may sit away from the actual leak.
A practical guide from water damage restoration professionals also compares stain color, texture, odor, and structural changes. Use those observations to decide what to inspect next, rather than treating one sign as a final answer.
Why a Dry Surface Doesn’t Prove the Damage Is Old
A wall can feel dry while moisture remains behind it. Drywall paper may shed surface moisture quickly, but insulation, framing, subflooring, and cabinet bases can hold water longer. In a humid area such as Cape Coral, drying may also take longer than homeowners expect.
Water can move down from an attic, sideways from a plumbing wall, or under flooring before it appears at a seam. That explains why a small ceiling stain may involve a larger section of insulation or framing. The affected area is often wider than the darkest part of the mark.
Humidity creates another complication. Condensation around air-conditioning equipment, ductwork, windows, or poorly ventilated bathrooms can make a dry stain appear damp again. A recurring mark near the same window or ceiling location deserves a new investigation, even if someone painted over it before.
Mold or mildew can provide information about moisture conditions, but it cannot establish an exact timeline. Growth may develop after a recent leak, or it may reflect repeated humidity over months. A musty smell can also come from wet carpet padding, a cabinet base, or an enclosed wall cavity that you cannot see.
A clean-looking patch can hide wet insulation or framing. Verify the materials behind the surface before closing the area.
Don’t apply paint, stain-blocking primer, caulk, or exterior sealant until the source is corrected and the surrounding materials have dried. Coatings can hide evidence and slow evaporation. If water continues entering the assembly, the surface repair may fail while the concealed damage continues.
Inspect and Document the Area Before Repairing It
Begin with safety. Keep children and pets away from sagging ceilings, soft floors, exposed insulation, and areas near wet electrical equipment. If water has reached outlets, switches, light fixtures, wiring, or an electrical panel, don’t touch the wet components. Arrange an electrical inspection.
If the source is active and you can reach it safely, close the fixture valve or shut off the home’s main water supply. A plumber may be needed for a burst pipe, failed valve, appliance hose, or hidden supply line. Stop using the plumbing fixture connected to the suspected leak until it has been checked.
Before moving damaged materials, create a record:
- Take wide photos of each affected room.
- Photograph close details, including stains, bubbling paint, warped trim, wet flooring, and visible growth.
- Record a short video if water is dripping or spreading.
- Write down when you first noticed the condition.
- Note recent storms, plumbing problems, odors, changes in stain size, and steps taken to limit damage.
- Save receipts for emergency supplies, extraction, drying, disposal, and temporary lodging when your policy allows those costs.
Move undamaged belongings away from the wet area. Place containers under safe drips, but don’t climb onto unstable ceilings or roofs. For a small clean-water spill, remove standing water and use ventilation or a dehumidifier when electrical conditions are safe. Avoid directing air through a contaminated area or disturbing visible mold without proper protection.
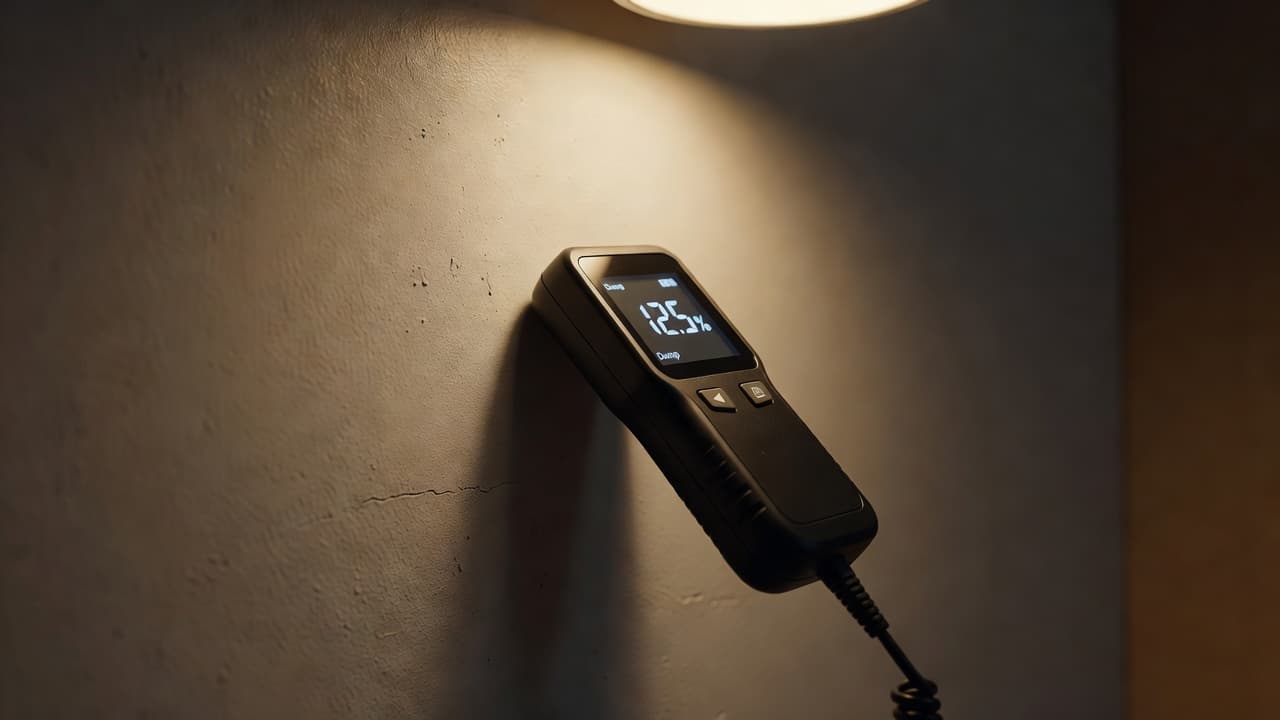
A moisture meter provides better information than touch. Pin meters measure between probes, while pinless meters scan without puncturing the surface. Neither tool automatically identifies the leak source, and readings vary by material, temperature, and meter type. A professional compares affected readings with nearby dry areas and checks more than the visible stain.
A thermal camera can help locate temperature differences, but it doesn’t directly measure moisture. Restoration technicians use it as one part of an inspection, alongside moisture mapping and targeted access.
Drying may require removing baseboards, opening a section of drywall, or taking out soaked insulation. The goal is to dry the cavity, not hide it. Materials should reach a stable, acceptable condition compared with unaffected areas before reconstruction begins.
When to Call a Restoration Professional or Plumber
Professional help is appropriate when the source is unknown, water entered a wall or ceiling, or materials remain soft or damp after initial cleanup. Contact a restoration company promptly when the affected area is large, multiple rooms are involved, flooring is saturated, or mold or strong odors are present.
The type of water also changes the risk. Clean water from a supply line may be manageable under limited conditions. Water from a toilet overflow, sewer backup, flood, or outdoor source can contain contaminants. Keep people away and avoid DIY cleanup when contaminated water reaches porous materials, cabinets, insulation, or HVAC components.
Call a plumber when the leak involves supply lines, drains, valves, water heaters, toilets, or appliances. A roofer may need to inspect wind-driven rain, flashing, roof penetrations, or damaged shingles. An electrician should evaluate wet outlets, fixtures, wiring, breakers, and nearby circuits.
Ask the restoration company for a written scope that separates extraction, demolition, drying, cleaning, sanitizing, and reconstruction. The estimate should identify hidden moisture checks, equipment monitoring, materials removed, and repairs excluded from the price. A vague quote may leave the real source untouched.
Insurance Documentation and Repair Decisions
Insurance treatment depends on the policy, cause of loss, exclusions, deductible, and endorsements. A sudden, accidental pipe failure may receive different treatment from long-term seepage, corrosion, poor maintenance, storm surge, or flooding. Water backup may require separate coverage.
Notify your insurer promptly if you may file a claim. Ask what it needs before discarding contents or opening walls. Some carriers request photographs, videos, estimates, receipts, proof of ownership, or an itemized contents list.
Keep your claim number with every document. Save inspection reports, moisture readings, drying logs, invoices, and written communications in one folder. If a restoration company inventories belongings, compare its list with your own records. Check room names, quantities, model numbers, colors, condition notes, and special handling instructions. Report mistakes while the items are still being tracked.
Don’t let insurance paperwork delay emergency steps that prevent further damage. Stop the water when safe, protect unaffected property, and document the condition before cleanup. Then coordinate the inspection, drying, and permanent repair.
Conclusion
A brown ring may indicate old staining, while damp drywall, bubbling paint, or an expanding mark may suggest new or ongoing moisture. Still, old vs new water damage is a question that surface appearance cannot answer by itself.
Document the area, stop the source safely, and check the materials behind the visible mark. If water involves hidden cavities, contaminated materials, electrical systems, or structural damage, bring in a qualified plumber, electrician, or restoration professional before cosmetic repairs conceal the problem.
